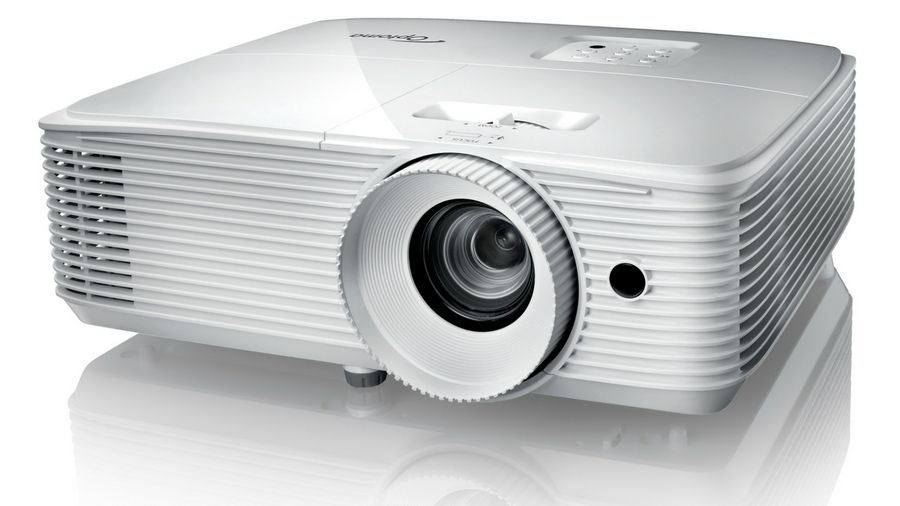
The bulb is the heart of your Optoma projector, casting images that captivate and inspire. However, without proper care, even the best projector bulb’s brightness can diminish, affecting image quality and potentially shortening its lifespan. Regular maintenance is the key to sustaining peak performance and longevity. This guide provides practical tips to keep your Optoma projector bulb shining bright for all your viewing needs.
Get the Most Out of Your Projector
Recognize the Rated Hours
Every Optoma projector bulb comes with a manufacturer’s rating for lifespan, typically listed as “hours.” Familiarize yourself with this figure to set realistic expectations for bulb longevity. Keep in mind that the closer a bulb is to its rated capacity, the sooner you should prepare for a replacement.
Monitor Usage Habits
Keeping track of how often and how long you use your projector can help extend the life of the bulb. Running a projector for too long in a single session can cause excess heat, reducing the bulb’s lifespan. Moderating use and giving the projector breaks can prolong bulb life. Consider using a timer or hour log to monitor your usage accurately.
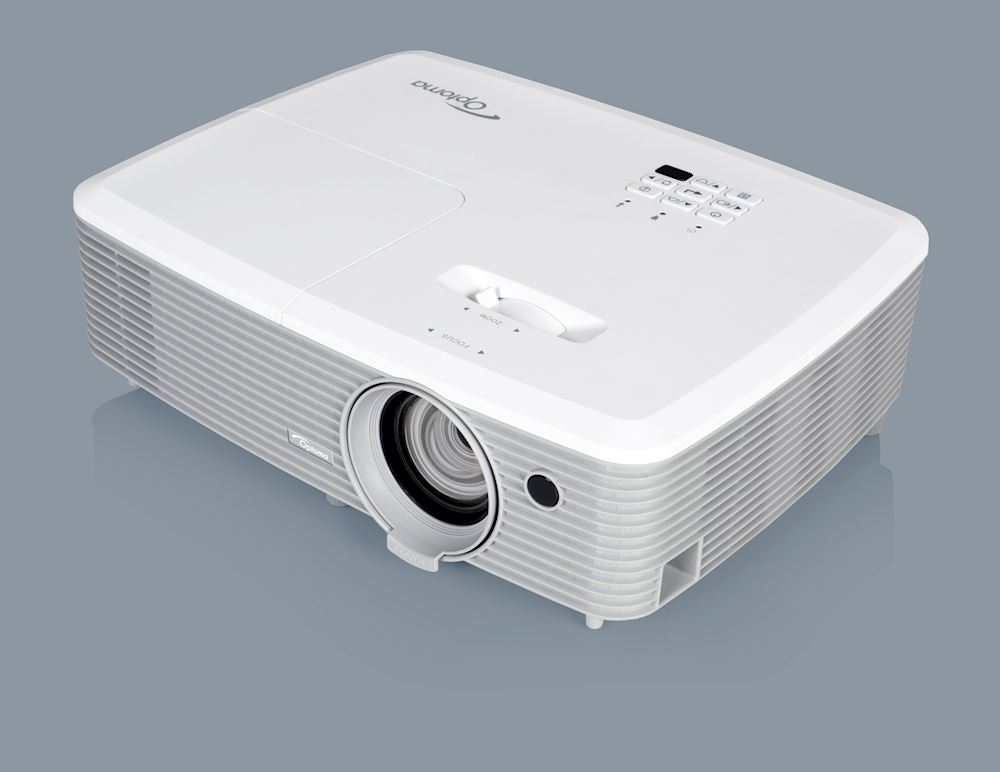
Preventive Measures for Optoma Bulbs
Ensure Proper Ventilation
Heat accumulation is a major culprit in reducing bulb life. Make sure your Optoma projector has adequate ventilation during operation. Avoid placing it in confined spaces or close to walls or other objects that could block exhaust fans. Check the manual for proper clearance distances and strive to exceed them for optimal airflow.
Handle Bulbs with Care
When handling projector bulbs, always use a clean cloth or gloves to avoid getting oils from your skin onto the bulb. This can cause hot spots that may lead to premature bulb failure. If you need to replace or adjust your projector bulb, handle it with care, and ensure it’s seated correctly in its housing.
Regular Cleaning: A Key to Bright Projection
Dust-free is the Way to Be
Keep your projector and the area around it as dust-free as possible. Dust build-up can block the cooling vents and lead to overheating. Use a soft, dry cloth or a can of compressed air to gently remove dust from the projector’s exterior vents and filters. Always follow your projector’s instruction manual for guidance on cleaning and maintaining your specific model.
Clean Optics for Clear Images
The lens and projector optics are just as important as the bulb itself. Dirty optics can lead to a dim and unclear image. Gently clean your projector’s lens with a soft, lint-free cloth designed for lens or optics cleaning. If necessary, use a small amount of lens cleaning solution, but don’t spray anything directly onto the lens as excess liquid can seep into the projector and cause damage.
Replacing Your Optoma Projector Bulb
Identifying Signs for Replacement
Know the warning signs that suggest it’s time to replace your projector bulb. A significant drop in brightness, a flickering image, or a color shift could all indicate a bulb near the end of its usefulness. Some projectors have built-in indicators that will alert you to bulb life status.
Choosing the Right Replacement Bulb
When replacing your Optoma projector bulb, opt for official Optoma replacement bulbs or other manufacturer-approved options. These will be specifically designed to work with your projector model and will ensure reliability and performance. Avoid third-party bulbs that may be of inferior quality and could even void your warranty.
Maintaining your Optoma projector bulb might require some attention and care, but it is a crucial step in guaranteeing that your presentations, movies, and games continue to shine in high quality. By following a maintenance routine, you can keep your bulb working efficiently, save money on replacements, and enjoy a bright and clear projection in your home, office, or educational environment. A well-maintained Optoma projector bulb means a consistently bright and vivid display for every use, ensuring that your audiences—whether large or small—are always captivated.
