Art projectors are valuable tools for artists looking to refine their work, whether it’s scaling up a drawing, transferring a design, or adding complex details. These devices can project an image onto a canvas or wall, allowing artists to trace or color directly over the projection. This process can speed up the creation of large-scale art and ensure accuracy in detail work. In this article, we’ll explore how to use an art projector effectively and discuss various techniques to enhance your artwork.
Selecting the Right Art Projector for Your Needs
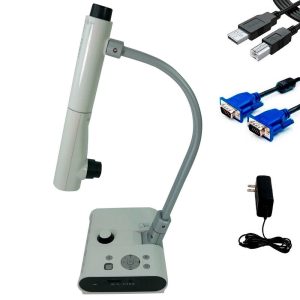
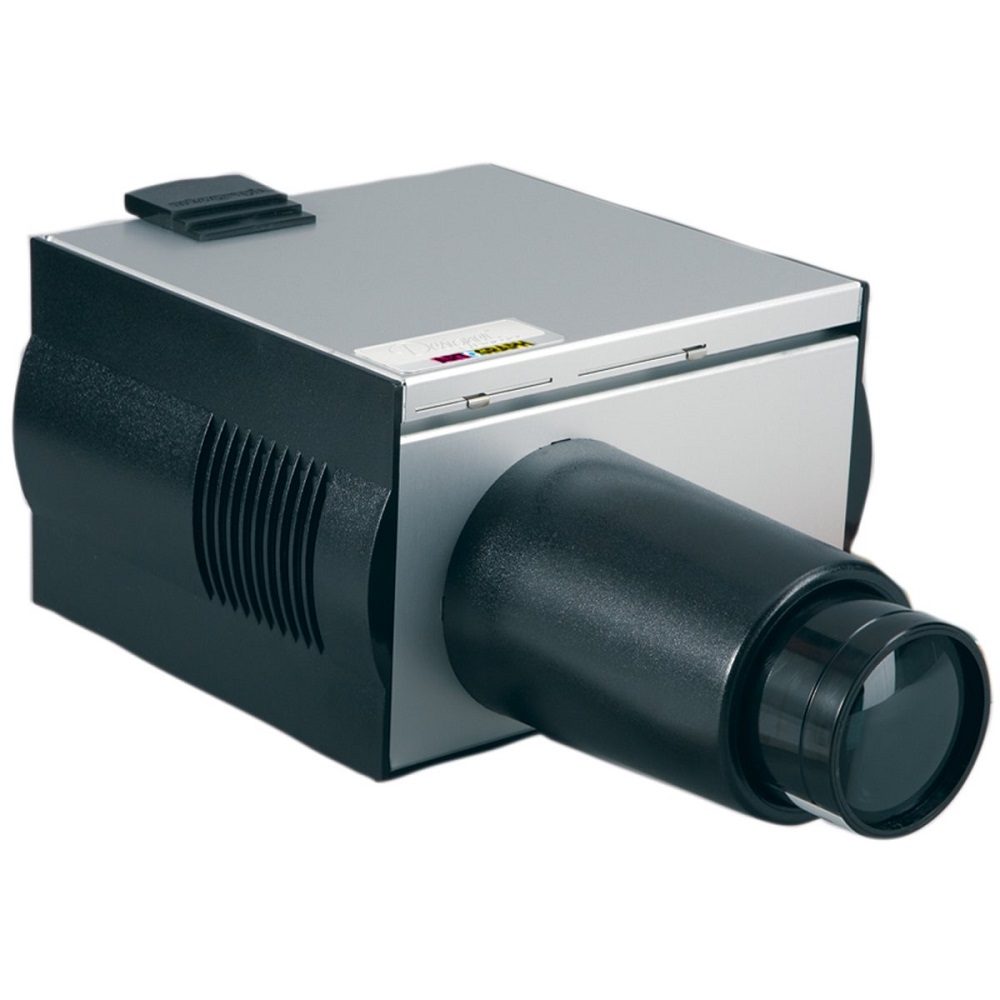
Understanding Different Types of Art Projectors
Before you begin, it’s essential to choose the right type of projector for your project. Digital art projectors offer high-resolution images and the flexibility to work with digital files, while opaque projectors require physical images or objects to project. Each has its advantages; digital projectors work well with computer-generated images, and opaque projectors are excellent for projecting sketches or physical items.
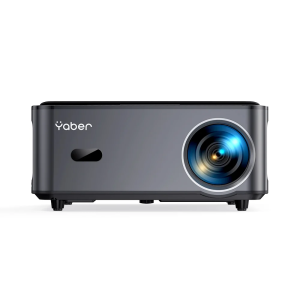
Considering Brightness and Image Quality
Take into account the brightness of the projector, measured in lumens, and its image quality. A higher lumens count is vital if you work in well-lit spaces, ensuring the projection is visible. Image quality, on the other hand, affects the sharpness of your projection, which is crucial for detailed work. Check the projector’s resolution and contrast ratio to suit the intricacy of your artwork.
Setting Up Your Art Projector
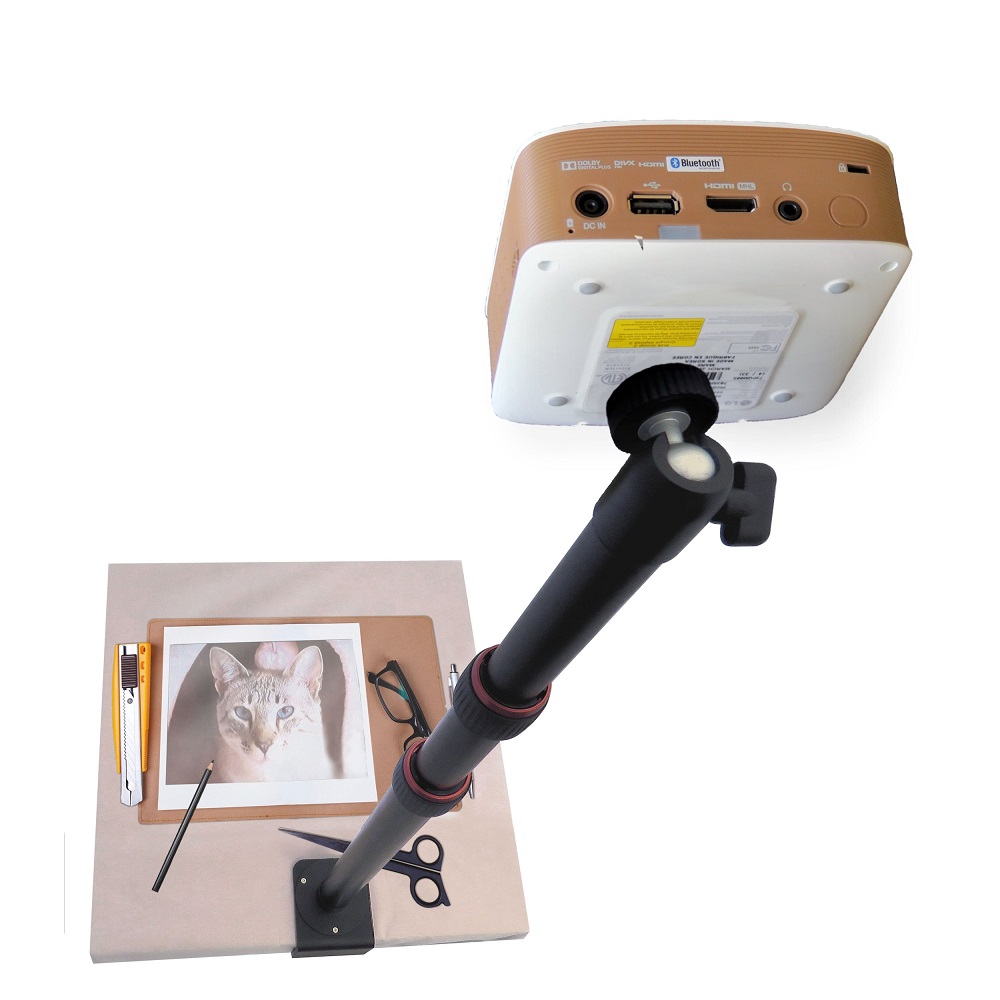
Positioning Your Projector for Optimal Results
Find a suitable position for your projector to ensure the image reaches the desired size and location on your canvas or wall. The distance between the projector and the surface can affect both size and focus, so adjust accordingly. It’s best to use a tripod or a stable table to minimize shaking or movement that could disturb your work.
Adjusting the Focus and Keystone for Clarity
Once you’ve placed the projector, fine-tune the focus until the projected image is crisp. If you’re projecting onto an angled surface, you might also need to adjust the keystone settings to correct any image distortion. Ensure the entire image is in focus and correctly proportioned, as this will be the template for your artwork.
Transferring the Image onto Your Art Surface
Tracing the Outline of the Projected Image
Begin by lightly tracing the outline of the projected image onto your canvas or drawing surface. You can use a pencil or thin marker that’s visible enough to guide you but not so dark that it can’t be covered by paint or other mediums later. Be precise and take your time with this step.
Filling in Details and Color
After tracing the outline, start adding details. Use the projection as a guide, adding as much or as little detail as you’d like. You can also begin to block in colors if you’re working on a painting. The art projector allows you to switch images as needed, so if you’re adding layers of details, you can project each layer separately.
Utilizing the Projector for Complex Art Techniques
Enlarging Small Drawings and Detailed Work
Using an art projector is particularly useful for enlarging small drawings without losing detail. If you want to scale up a detailed piece, you can project the small image onto a larger canvas and trace the intricate patterns or lines, maintaining the original drawing’s integrity.
Working with Mixed-Media Art
An art projector also enables mixed-media artists to integrate various elements into their work. Project and trace photographs or printed materials onto your art surface, and then paint, draw, or collage over them. This can create unique and complex compositions that might be difficult to achieve otherwise.
Maintaining Your Art Projector for Continued Use
Cleaning and Protecting your Projector
Keep your art projector in excellent condition by cleaning the lens and exterior periodically to prevent dust build-up. Use a soft, dry cloth for wiping the lens gently to avoid scratches or damage. Make sure to cool down the projector before storing it and keep it covered or in a case to prevent dirt accumulation.
Troubleshooting Common Issues
Familiarize yourself with basic troubleshooting for common projector issues, such as overheating, connectivity problems, or lamp replacement. Refer to the user manual for specific guidance on maintaining your model. With proper care, your art projector will be a reliable tool for enhancing your artwork for years to come.
Expanding Creative Horizons with Projector Techniques
Experimenting with Layered Imagery
Art projectors offer you the chance to explore the layering of images in your creations, pushing the limits of your artistic expression. By projecting different images onto the same space at varying intervals, you can trace and combine elements from multiple sources, creating depth and narrative in your visuals. This is particularly effective in storytelling through art, as it allows various elements to overlap and interact on the canvas in a pre-planned, yet seemingly spontaneous, way.
Perfecting Proportions and Perspectives
One of the crucial benefits an art projector offers is the ability to maintain proportion and perspective in your artwork. As you project an image, the dimensions remain true to the original, which is especially helpful when working on portraits or scenes requiring a realistic touch. This precision in scaling ensures that all elements of your artwork are cohesive, regardless of the size of your working surface.
Dynamic Live Art Performances
Take your artwork beyond the studio and into live performance areas using an art projector. Projecting outlines and images during a live show can serve as a guide to create art in real-time, captivating an audience with the magic of creation. This dynamic use of technology adds an engaging layer to art exhibitions and events, allowing spectators to witness the transformation of projections into tangible works of art before their eyes.
Leveraging Technology in Art Education
Enhancing Learning with Visual Aids
Art projectors are also incredibly useful as teaching tools in art education. They allow educators to project examples and demonstrations in large format for the class to see, making instruction clearer and more engaging. Students can learn techniques such as scaling and composition by observing and participating in the tracing of projections, which reinforces visual learning and retention.
Encouraging Collaboration and Interaction
Using an art projector encourages a collaborative learning environment. Students can work together on a single large project where each contributes to a portion of the projected image. This interaction not only fosters teamwork but also helps budding artists appreciate the process of creating large-scale works collectively. Moreover, it allows for critique and discussion in real-time, with the artwork openly visible for group analysis and feedback.
Acknowledging Originality and Fair Use
While art projectors can enhance your creative process, it is important to navigate the ethical considerations surrounding their use. Ensure any images you project are either your own or are free to use. When projecting work created by others, ensure you have the rights or permission to do so, and always give credit where it is due. Using projectors can be a hotly debated topic within the art community, and maintaining fairness and respect for originality is paramount.
Balancing Technology with Handcrafted Artistry
Furthermore, remember to balance the convenience of technology with the value of handcrafted artistry. Using a projector can aid in the technical aspects of art-making, but the creativity and skill of the artist remain central to the artwork’s quality and authenticity. Aim to use an art projector as a tool to complement, not replace, your artistic skills and vision. This balance will preserve the integrity of your work while allowing you to reap the benefits of technology in the art-making process.
An art projector can be an invaluable asset for artists, providing a versatile way to enhance the accuracy and detail of your work. It streamlines the process of creating large or complex pieces and offers flexibility across various mediums. By understanding how to select, set up, and maintain your art projector, you can take your artistic capabilities to new heights. For both amateur and professional artists, an art projector is a tool that bridges the gap between vision and execution, allowing for endless potential in the creative process.