Setting up an RCA home theater projector can elevate your viewing experience, bringing the magic of the movies right into your living room. With the right guidance, installing your projector can be straightforward and hassle-free. Our comprehensive guide will take you through every step of the process, ensuring perfect installation for the best possible cinematic experience at home.
Planning and Preparation
Choosing the Right Location
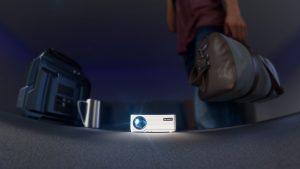
Identifying the best location for your projector is critical. It should be positioned to face the center of your screen, at the appropriate distance based on the size of your space and the projector’s specifications. Avoid places prone to vibrations and make sure there are no obstructions between the projector and the screen.
Preparing the Space
Your theater space should be as dark as possible and have a white or light grey screen to project onto, with the room painted in non-reflective, dark colors to absorb light and improve contrast. Have a power outlet nearby, and consider the placement of your other components like speakers and source inputs to ensure that cables can be routed cleanly and safely.
Setting Up the Projector
Mounting Your RCA Projector
For ceiling mounting, use a projector mount that fits the specific model of your RCA home theater projector. Secure the mount to a ceiling joist for stability, and attach the projector to the mount. For table mounting, ensure the table is level and at an appropriate height relative to your screen.
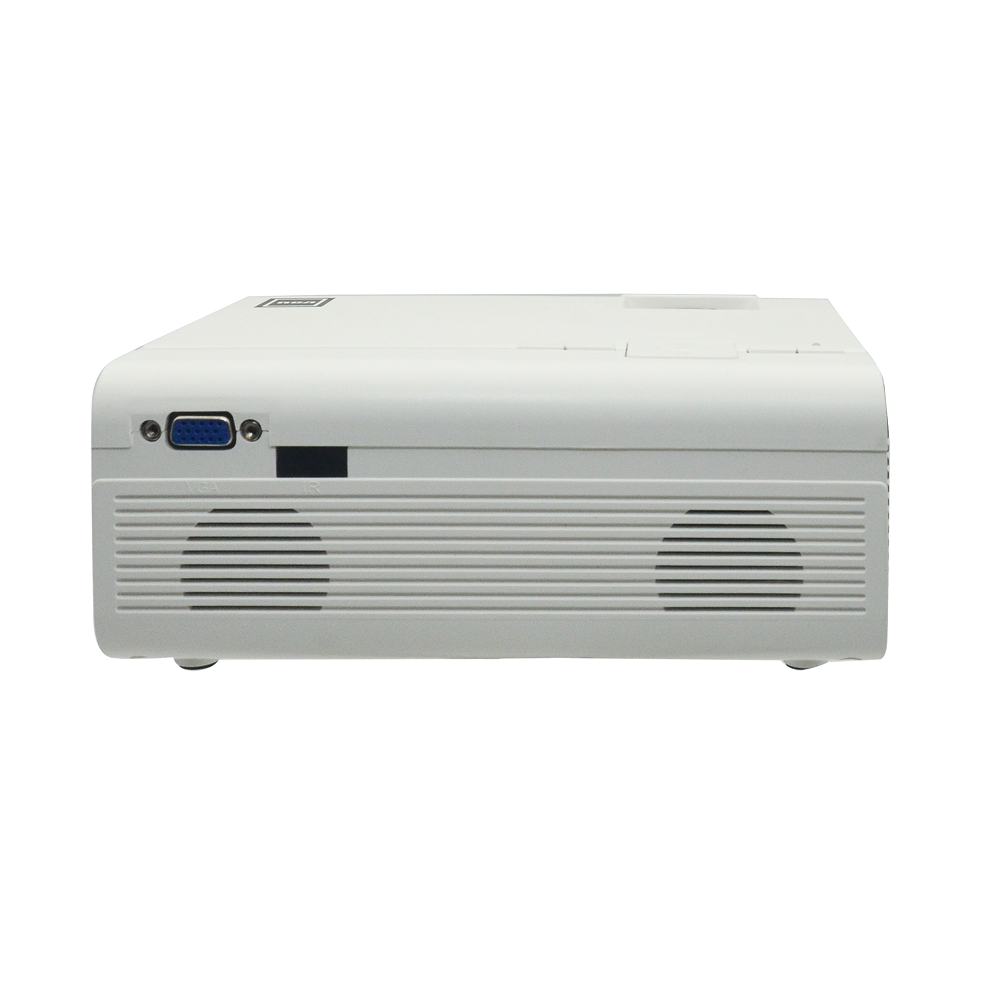
Connecting to Power and Source Devices
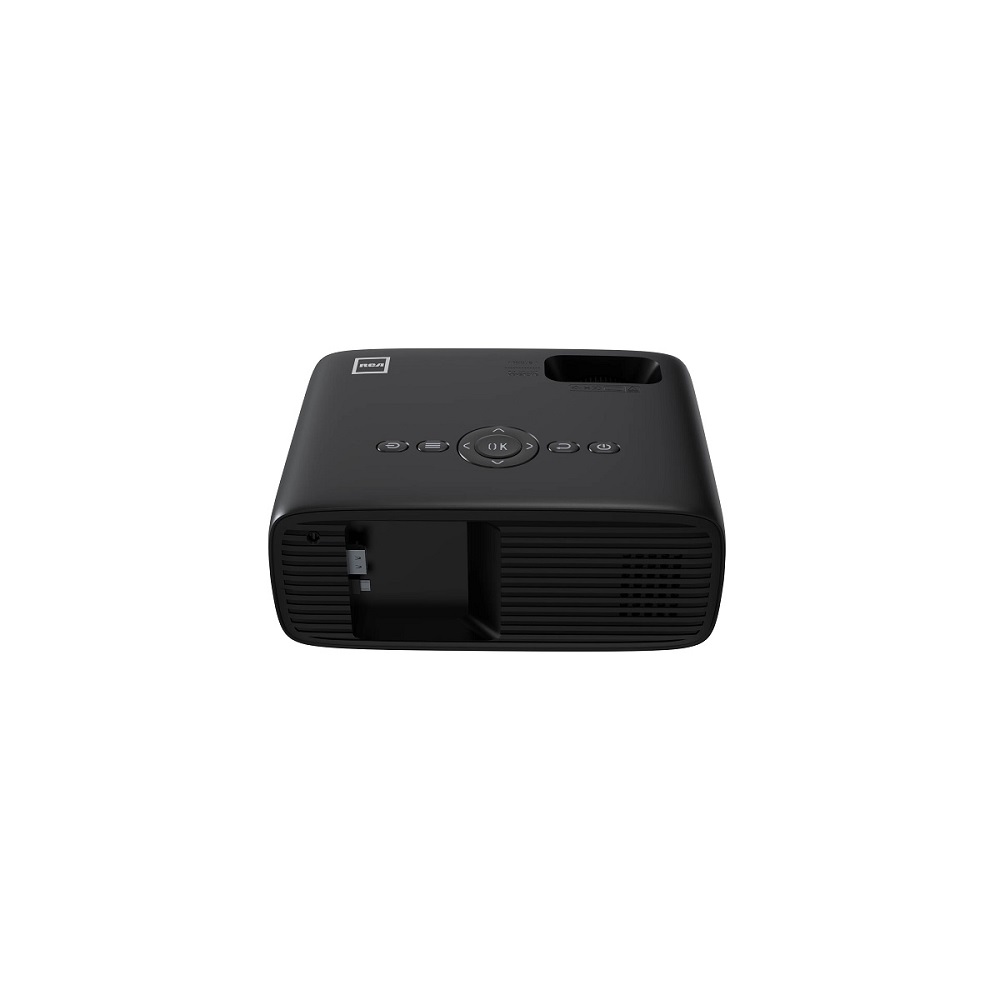
Utilize the projector’s rear panel to connect the power cable and source devices. HDMI offers the best video quality, but depending on your device, you may also need to utilize RCA or VGA. Power on your devices to ensure the connections work before proceeding with image adjustments.
Adjusting the Image
Achieving Optimal Focus and Alignment
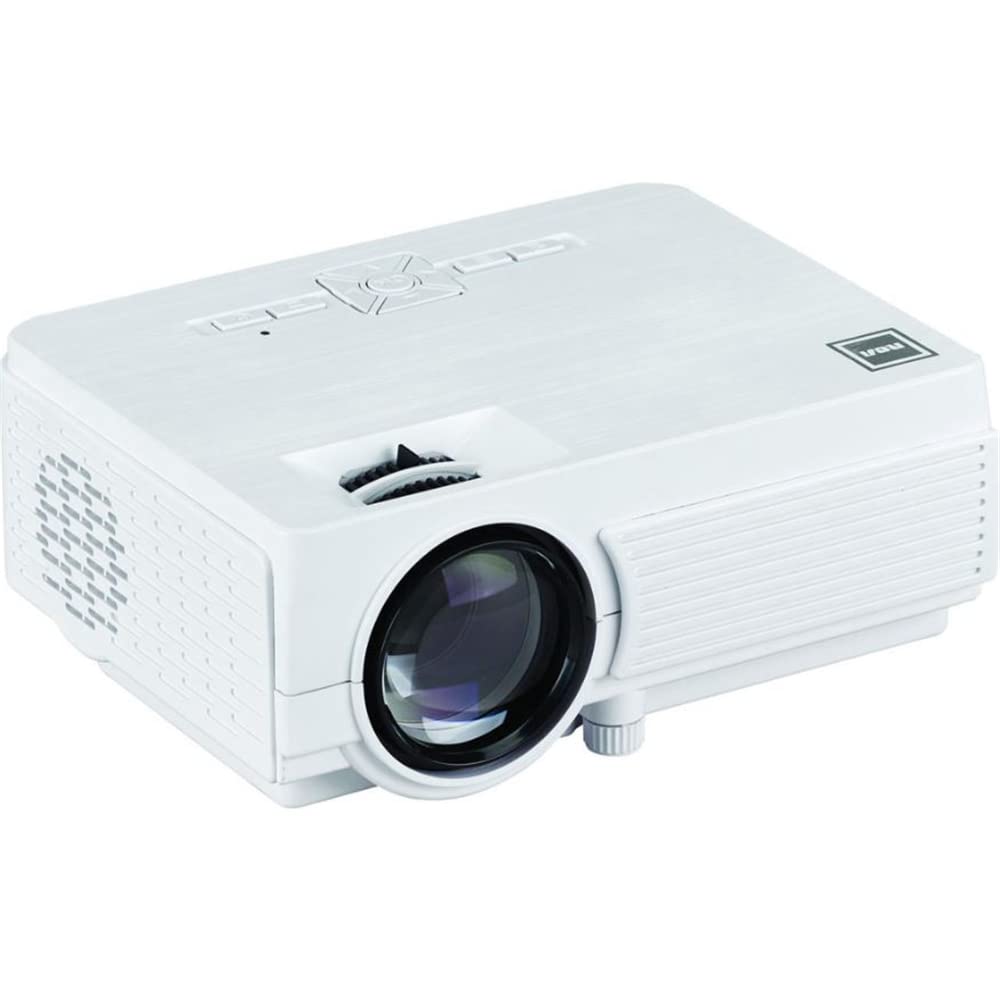
Power on the projector and temporarily project onto a plain white wall or screen. Use the focus dial to clarify the image and the zoom function to suit the screen size perfectly. Fine-tune the keystone adjustments to correct any image distortion that may occur from placement angle issues.
Calibrating the Projector Settings
Use the remote to access the settings menu and adjust the image configuration. Most models come with pre-set viewing options that you can further personalize for your viewing space. Adjust brightness, color, contrast, and sharpness to optimize quality, and test these settings with a variety of content.
Audio Setup
Connecting External Speakers
Connect your sound system by plugging an audio cable from the projector’s audio out into your speakers or A/V receiver. If you’re using a digital sound system, make sure it’s compatible with the projector’s output to take full advantage of high-quality soundtracks.
Ensuring Optimal Audio Synchronization
Confirm that there’s no lag between the audio and video. If necessary, use the audio delay settings on your sound system to sync them. Perform multiple tests with fast-paced action scenes and dialog-heavy sequences to ensure synchronization across different scenarios.
Finalizing the Installation
Securing the Cables and Components
Keep all cables organized with clips or cable-runners. Secure any loose ends with zip ties, and ensure that cables are out of foot traffic areas to prevent accidents. Double-check that all connections have enough slack and aren’t strained to prevent damage to the ports or cables.
Testing the System with Various Media
Run a series of tests with movies, games, and other media in both dark and semi-lit conditions to make final adjustments. Evaluate the uniformity of the picture and the vividness of the colors across different genres and lighting conditions to get a theater-like experience for all types of content.
Maintenance and Upkeep
Regular Cleaning and Dusting
Routine maintenance is necessary for the longevity of your projector. Use a microfiber cloth to clean the lens gently, and canned air or a soft brush to remove dust from vents and filters. Avoid touching the lens with your fingers to prevent oil build-up.
Lamp Life Monitoring and Replacement
Keep track of the lamp’s lifespan through the system’s lamp-life feature, which usually provides an estimated usage time. Plan to have a replacement ready when the lamp approaches the end of its estimated life to avoid interruptions and maintain optimal brightness and image quality.
Advanced Configuration for the Ultimate Experience
Tuning Visuals with Advanced Settings
Once you’ve set up the basic configurations, dive deeper into the advanced settings menu of your RCA projector. Here, you can refine gamma adjustments, fine-tune color temperature, and even manage individual color intensities. These advanced adjustments provide a more true-to-life image that’s tailored to your room’s unique lighting conditions and your personal preferences.
Utilizing Eco Modes for Longevity
Many projectors provide eco-friendly modes that decrease brightness slightly to extend lamp life. These settings not only benefit the environment but also reduce power consumption and the heat generated by the projector, thus potentially extending the overall lifespan of your device.
Enhancing the Viewing Environment
Selecting the Right Screen Surface
If you haven’t already chosen a screen, now is the time to select one that pairs well with your RCA home theater projector. Screens come in various materials, and some enhance brightness or offer a wider viewing angle. Match the screen gain to your projector’s output for a bright and vibrant image.
Perfecting Room Acoustics
Sound makes up half of the movie-watching experience, so consider the acoustics of your home theater. Soft furnishings, carpets, and acoustic panels can absorb excess sound, reducing echo and enhancing audio clarity. Position your speakers so that sound travels directly to the viewer for an immersive experience.
Controlling Ambient Light
Full control over your room’s lighting can significantly impact the quality of your projected images. Blackout curtains or blinds help block out unwanted natural light, while dimmable LED bulbs allow you to adjust artificial room light to complement your viewing experience.
Integrating with Smart Home Systems
Smart Connectors and Automation
With smart plugs and home automation systems, you can integrate your RCA home theater projector into your home’s ecosystem. Set up routines that prepare your viewing space with a single command, like dimming the lights and powering on the projector, to enhance the convenience of your smart home theater.
Remote Management and Access
Explore options for remote management of your projector, like applications that allow you to control settings from your smartphone or tablet. Such connectivity makes for an easily accessible and user-customizable home theater system that streamlines operation and enriches the viewing experience.
Regular Software and Firmware Updates
Keeping Firmware Up to Date
To ensure that your projector runs efficiently, check for software and firmware updates regularly. Manufacturers often release patches and updates to improve functionality and add new features, keeping your projector up to date with the latest technology advancements.
Utilizing Projector Software Tools
Certain RCA projectors come with proprietary software tools that can enhance performance and provide maintenance reminders. Take advantage of these tools if available, as they are designed to keep your projector functioning smoothly and help troubleshoot any issues that may arise.
Taking Care of Your Home Theater Investment
Establishing a Maintenance Routine
Create a maintenance schedule for your projector and home theater system. Regular cleanings, proper usage, and system check-ups can significantly impact the performance and longevity of your equipment, safeguarding against potential issues and avoiding the need for costly repairs or replacements.
Investing in Surge Protectors
Power surges can damage sensitive electronic equipment like your RCA projector. Invest in high-quality surge protectors to shield your investment from electrical fluctuations. It’s a small addition that can prevent major setbacks and extend the life of your home theater components.
With these steps, your RCA home theater projector setup will transform any viewing space into a personal cinema. From choosing the right location to securing cables and scheduling maintenance, each stage is set to provide you with a stellar viewing experience. The personal satisfaction of a DIY installation is only outdone by the countless hours of entertainment that your new home theater projector will deliver. Get ready to sit back, relax, and immerse yourself in big-screen enjoyment right from the comfort of your home.