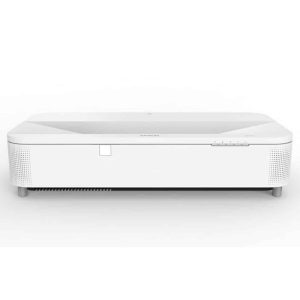
Elmo projectors are versatile tools for education, business presentations, and home entertainment. These devices can help you deliver clear and impactful presentations with ease. To ensure you get the most out of your Elmo projector, it’s essential to set it up correctly and understand how to use its features efficiently. This article provides practical guidance on setting up and using your Elmo projector effectively, covering essential aspects such as initial setup, connectivity, image adjustment, maximizing features, maintenance, troubleshooting, and optimizing presentations.
Initial Setup and Placement
Unboxing and Assembling
Begin by carefully unboxing your Elmo projector. Lay out all the components, including the projector, remote control, power cord, and any additional accessories. Assemble the projector according to the user manual. Typically, this involves attaching any necessary lenses or mounting brackets. Ensure that all parts are securely in place before proceeding. Proper assembly is critical for the projector’s stability and performance. Taking the time to carefully unbox and assemble the device ensures all components are intact and ready for use.
Choosing the Right Location
The placement of your Elmo projector significantly impacts its performance. Choose a location where the projector is stable and has a clear line of sight to the screen or wall. Ensure the area is free from obstructions that could interfere with the projection. Consider the distance between the projector and the screen, as this affects image size and clarity. A well-chosen location enhances the projector’s effectiveness and ensures a clear and focused image. Try different positions to find the optimal placement for the best viewing experience.
Connecting Your Devices
HDMI and VGA Connections
Connecting your Elmo projector to various devices like laptops, tablets, or DVD players is crucial for presentations. Most Elmo projectors have HDMI and VGA ports for connectivity. Use an HDMI cable for high-definition video and audio transmission from devices like modern laptops and DVD players. For older devices, a VGA cable can be used for video transmission, though you may need an additional audio cable. Ensuring you have the right cables and adapters is essential for a seamless connection. Always secure connections to prevent disruptions during use.
Wireless Connections
Some Elmo projectors support wireless connections, allowing you to connect devices without the hassle of cables. This can be especially useful for mobile devices like smartphones and tablets. Follow the user manual to set up the wireless connection, often involving a Wi-Fi network and a specific app provided by Elmo. Wireless connections add convenience, allowing you to control presentations remotely and from different positions in the room. Ensure all devices are compatible and connected properly to avoid connection issues during your presentation.
Adjusting Image and Focus
Keystone and Zoom Adjustments
To achieve a perfectly aligned image, use the keystone adjustment feature on your Elmo projector. This corrects any distortion caused by the projector’s angle relative to the screen. Additionally, adjust the zoom to fit the image onto the screen properly. Most Elmo projectors have easily accessible controls for these adjustments, either on the projector itself or via the remote control. Taking the time to adjust the keystone and zoom ensures a clear, distortion-free image that enhances the viewing experience and the professionalism of your presentation.
Manual Focus and Autofocus
Achieving a sharp image is key to a successful presentation. Many Elmo projectors feature both manual focus and autofocus options. Start by using the autofocus feature if available; it automatically adjusts the image for optimal clarity. If necessary, fine-tune the focus manually using the focus ring or control buttons. Ensuring the image is sharp and clear makes it easier for your audience to see and understand the content. Regularly checking and adjusting the focus maintains image quality throughout your presentation.
Maximizing Features and Functionality
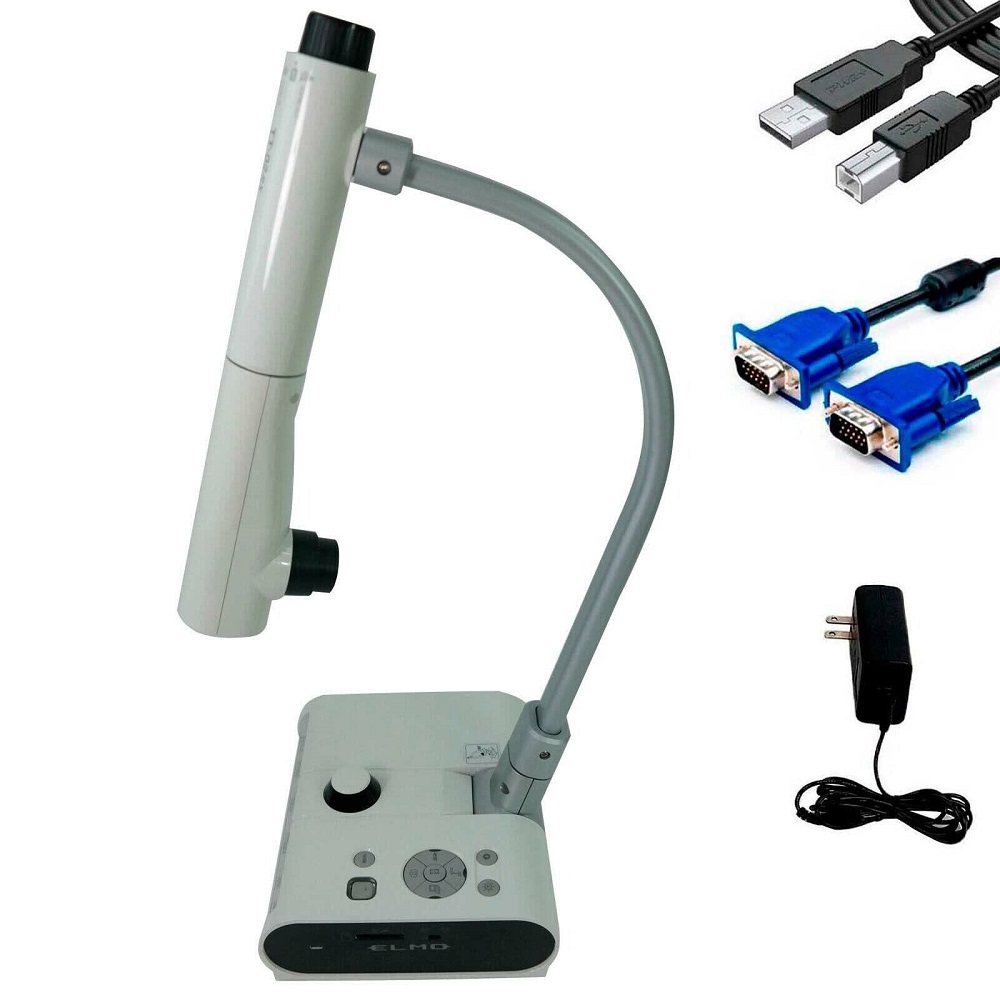
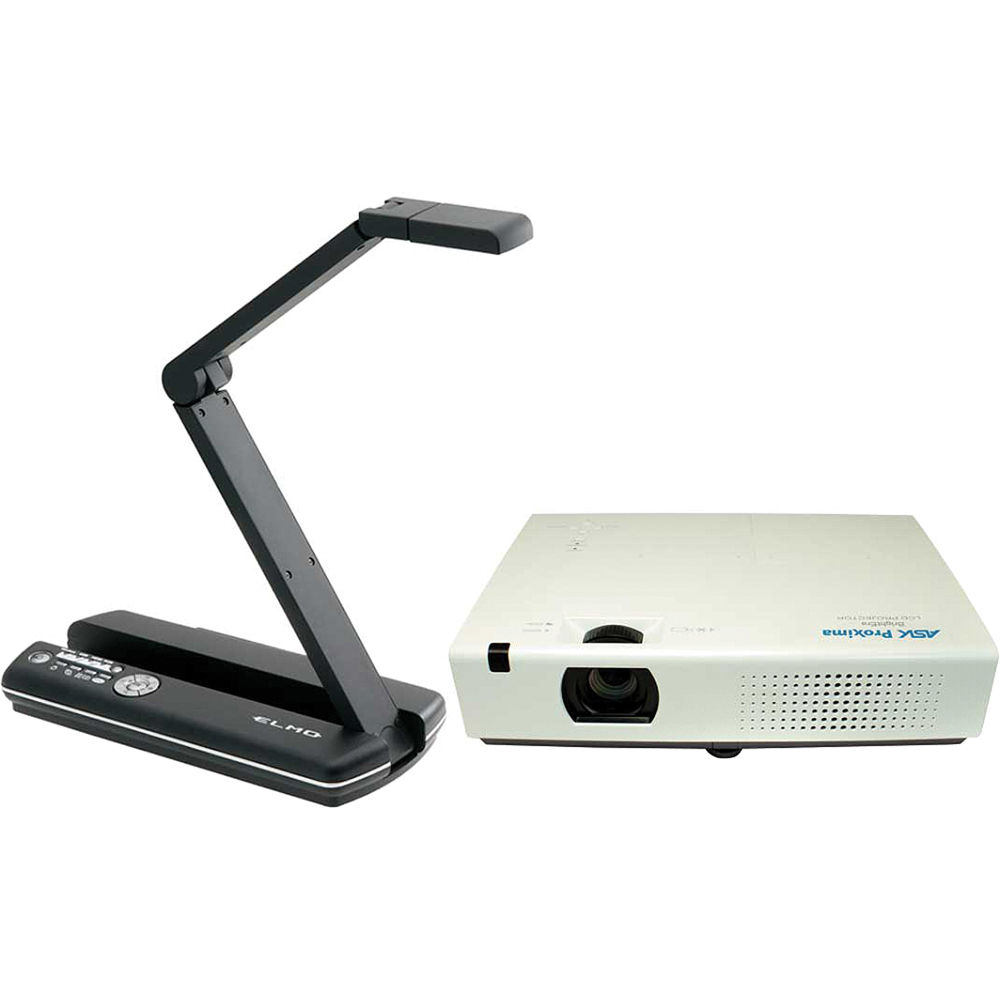
Using the Document Camera
One of the standout features of Elmo projectors is the integrated document camera, which allows you to display documents, books, or 3D objects directly. Position the document under the camera, adjust the zoom and focus, and the image will be projected clearly. This feature is particularly useful for educational settings, where you can display textbook pages or live demonstrations. Familiarizing yourself with the document camera’s controls maximizes its potential in your presentations, making it a versatile tool for various applications.
Utilizing Interactive Features
Some Elmo projectors come with interactive features, such as annotation tools or screen mirroring capabilities. These features can enhance your presentations by allowing real-time notes, highlights, and interactions. For example, use annotation tools to draw or highlight key points during a presentation. Screen mirroring enables you to display content from multiple devices simultaneously. Learning to use these interactive features effectively can make your presentations more engaging and dynamic, capturing your audience’s attention and enhancing their understanding.
Maintenance and Care
Cleaning the Lens and Filters
Regular maintenance of your Elmo projector ensures consistent performance and longevity. Clean the lens regularly with a microfiber cloth to prevent dust and smudges from affecting the image quality. Additionally, check and clean the air filters as per the manufacturer’s recommendations. Blocked filters can cause overheating and reduce the projector’s lifespan. Regular cleaning and maintenance keep your projector running smoothly and your images clear. Set a schedule for maintenance tasks to ensure they are performed consistently.
Storing and Transporting
Proper storage and transportation of your Elmo projector are essential to prevent damage. When not in use, store the projector in a cool, dry place, preferably in its original case. Use padded bags or cases when transporting the projector to protect it from bumps and jolts. Secure all cables and accessories properly to avoid damage during transit. Following these storage and transportation guidelines ensures your projector remains in top condition and ready for use whenever needed.
Troubleshooting Common Issues
Resolving Connection Problems
Occasionally, you may encounter connection issues between your Elmo projector and other devices. If the projector isn’t detecting the input, check all connections for secure fitting. Ensure that the correct input source is selected on the projector. Restarting both the projector and the connected device can also resolve minor glitches. Keeping a checklist of common troubleshooting steps can help you quickly resolve connection problems, minimizing downtime during presentations. Regularly updating firmware and software can also prevent connectivity issues.
Addressing Image Quality Issues
If you experience issues with image quality, such as blurriness or distortion, revisit the focus and keystone settings. Ensure the projector is at the correct distance from the screen and that the lens is clean. Adjust the brightness and contrast settings to improve image clarity. If problems persist, consult the user manual or contact Elmo support for further assistance. Understanding how to troubleshoot image quality issues ensures your presentations remain clear and professional, maintaining audience engagement and comprehension.
Optimizing Presentations
Preparing Slides and Content
Effective presentations start with well-prepared content. When creating slides, use high-resolution images and large, legible fonts. Ensure that the content is clear, concise, and visually appealing. Practice using the Elmo projector to familiarize yourself with its features and how to navigate through your slides smoothly. Well-prepared content combined with effective use of projector features creates a professional and engaging presentation, enhancing audience retention and impact.
Engaging Your Audience
Using your Elmo projector effectively involves more than just displaying content. Engage your audience by interacting with them and using the projector’s features dynamically. Incorporate the document camera for live demonstrations, use annotation tools for real-time illustrations, and switch between different media to keep the presentation lively. Engaging the audience not only makes the presentation more interesting but also promotes better understanding and retention of the information presented.
Mastering Your Elmo Projector
Setting up and using your Elmo projector effectively involves understanding each feature and how it can enhance your presentations. From initial setup and connectivity to maximizing features and troubleshooting issues, this guide provides practical tips to help you get the most out of your projector. Regular maintenance and preparation ensure that your device delivers high-quality performance consistently.
In summary, mastering your Elmo projector can significantly improve your presentation skills and the audience’s experience. By taking the time to learn about its features and practice using it, you can deliver clear, engaging, and impactful presentations. Whether you are in an educational setting, a business environment, or using it for personal entertainment, your Elmo projector can be a powerful tool in your hands.