When it comes to home theaters and presentation spaces, achieving a high-quality viewing experience is essential. One of the best ways to enhance your projection system is by using projector screen paint. This specialized paint transforms any smooth surface into a vibrant and effective projection screen, making it an excellent option for homeowners and professionals alike. In this guide, we will explore the benefits of projector screen paint, the application process, and tips for achieving stunning results.
Understanding Projector Screen Paint
What Is Projector Screen Paint?
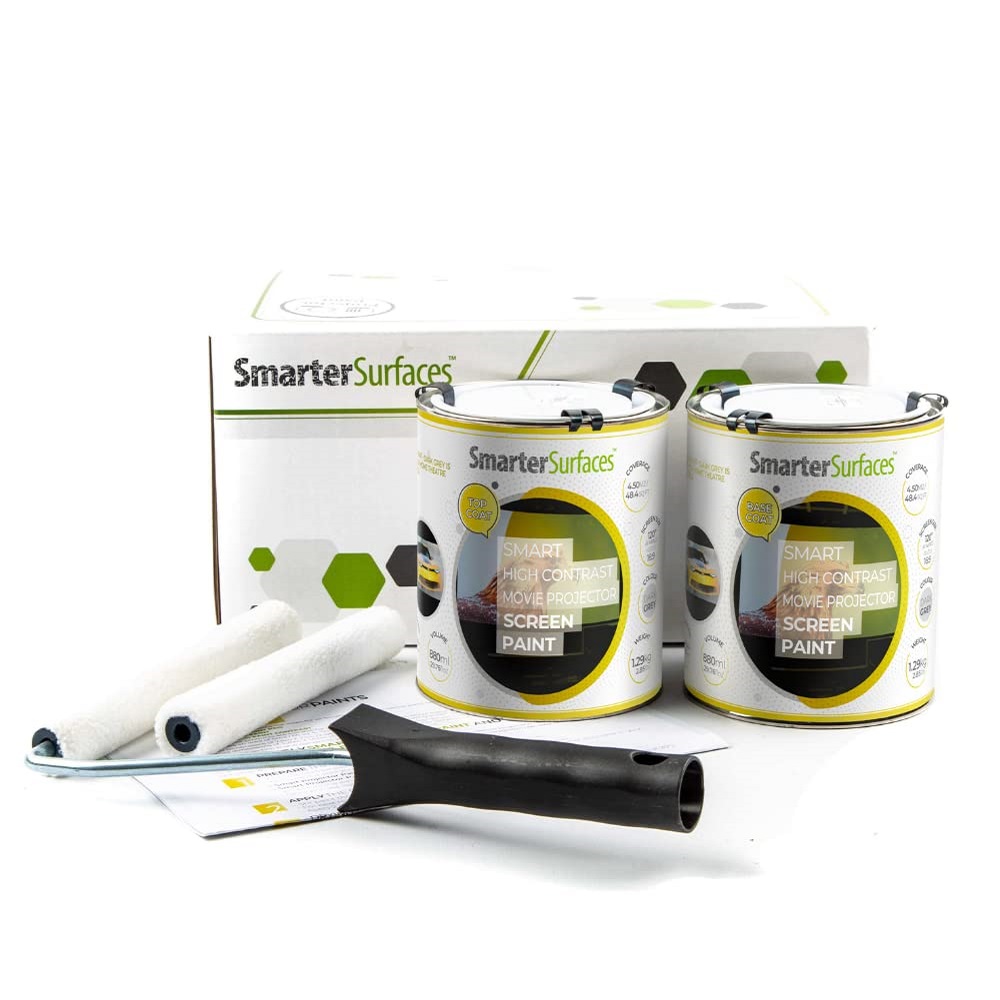
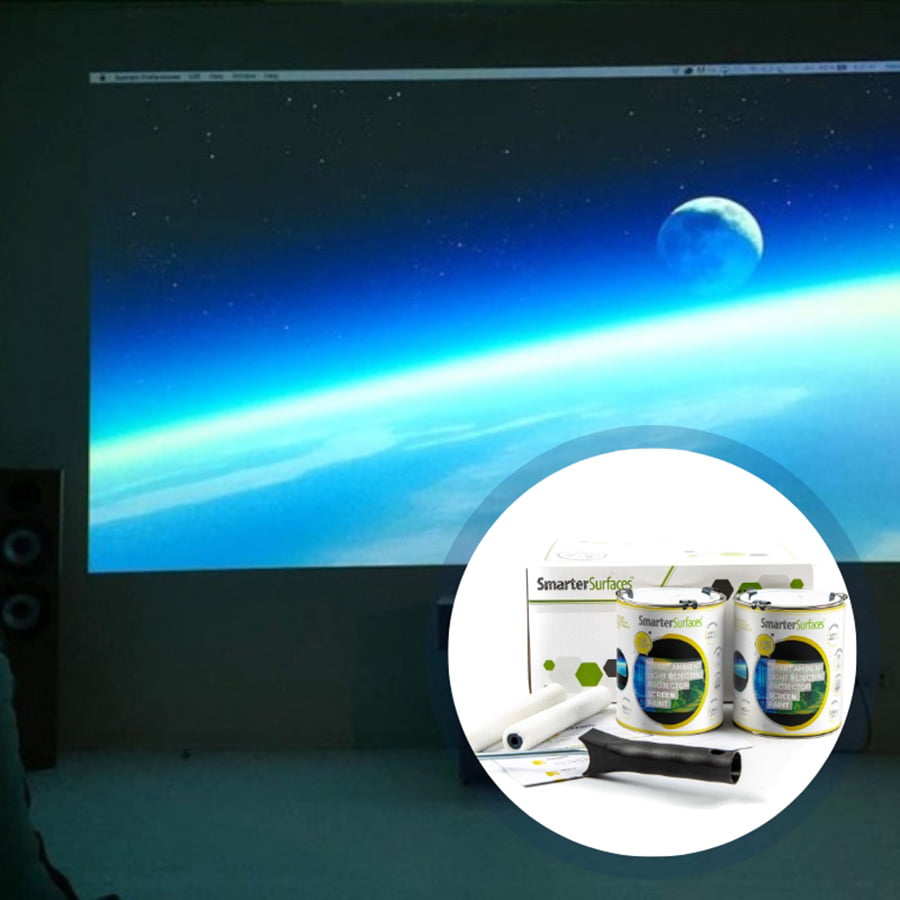
Projector screen paint is a specially formulated coating designed to create a suitable surface for projection. Unlike standard wall paints, projector screen paints have unique properties that improve color accuracy, contrast, and brightness. These paints are typically engineered with specific reflective qualities, allowing them to enhance the performance of your projector. They come in various finishes—matte, semi-gloss, and reflective—to suit diverse environments and personal preferences.
Why Choose Projector Screen Paint?
Using projector screen paint offers several advantages over traditional screens. First, it provides flexibility, as you can apply it to any flat surface, turning walls, ceilings, or even DIY screens into effective projection surfaces. This adaptability allows for use in smaller spaces or unique setups that may not accommodate a standard projector screen. Additionally, projector screen paint often costs less than purchasing a dedicated screen, making it a budget-friendly choice that doesn’t compromise quality.
Preparing for Application
Gather Your Materials
Before getting started, gather all necessary materials. You’ll need projector screen paint, painter’s tape, paint rollers or brushes, a drop cloth, and possibly a primer if the surface requires it. Make sure your projector screen paint is specifically designed for your projection type—such as front or rear projection—and is optimized for the size and resolution you plan to use. Lastly, consider purchasing a paint sprayer for a smoother finish, especially if you’re working on a large area.
Prepare the Surface
Proper preparation is key to achieving stunning results. Start by cleaning the surface you plan to paint. Remove any dust, grease, or imperfections that can interfere with the paint’s adherence and performance. If you’re applying paint to a wall, patch any holes or cracks and sand the area to create a smooth finish. If you’re painting over a dark-colored surface, consider applying a white primer first to enhance the vibrancy of the projector screen paint. Using painter’s tape helps to define your borders and create clean lines, lending a professional look to your project.
Choosing the Right Paint
Types of Projector Screen Paint
When shopping for projector screen paint, you’ll find various types designed for specific applications. For example, some paints feature high reflective properties for brighter images, making them ideal for brightly lit rooms. Others are designed for complete light absorption, suitable for darkened environments. Researching your specific needs and the environment of your application will guide you in selecting the perfect paint.
Consider the Finish
The finish of the paint significantly affects your viewing experience. A matte finish minimizes reflections and is excellent for reducing ambient light interference. A semi-gloss finish, on the other hand, will reflect more light and is great for brightly lit rooms. Take into account the lighting conditions where you’ll be using the projector and choose a finish that enhances both contrast and clarity for stunning results.
The Application Process
Step-by-Step Painting
Once you’ve chosen the right paint and prepared the surface, it’s time to apply the projector screen paint. Start by applying painter’s tape around the edges of the area you’ll be working on. Make sure to cover any areas you don’t want to paint, such as adjacent walls, windows, or light switches. Then, if using primer, apply it first and allow sufficient drying time. Once the primer is dry, use a roller or brush to apply the projector screen paint evenly across the surface. Work in sections, applying thin coats to avoid drips and ensure a uniform finish.
Allow for Drying and Curing
After applying the first coat, give it ample time to dry, usually around a few hours, depending on the paint specifications and environmental conditions. It’s best to apply at least two coats for optimal results. Once the final coat is applied, allow the paint to cure for about 24 to 48 hours before using the surface for projection. Curing is essential; it ensures that the paint has fully adhered to the surface and maximizes its performance.
Testing and Adjusting
Evaluate the Projection Quality
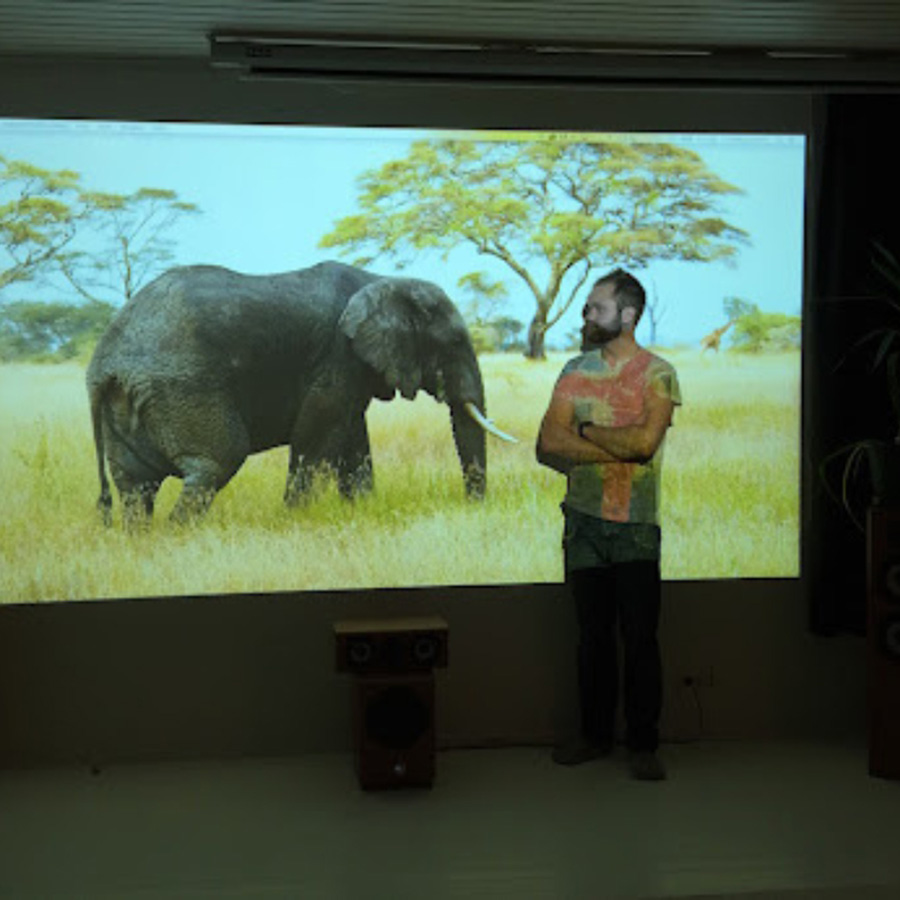
Once your screen paint has cured, it’s time to test it out. Set up your projector, align it properly, and project an image or video onto the screen. Observing the clarity and color accuracy of the projection will give you insights into the effectiveness of your paint application. Pay attention to brightness, contrast, and edge sharpness, assessing whether the results meet your expectations.
Making Adjustments
If the initial results aren’t up to par, don’t fret—you may need to tweak your setup. Adjust the projector settings such as brightness, contrast, and color balance. Sometimes, simply repositioning the projector can yield better results. If you’re still not satisfied, consider applying a third coat of paint or adjusting the ambient light in your room to see if it enhances the viewing experience.
Maintenance Tips for Long-lasting Results
Cleaning the Screen
To keep your painted projection surface in optimal condition, regular cleaning is essential. Use a microfiber cloth to gently wipe the surface, avoiding harsh chemicals that could damage the paint. For stubborn stains, a mild soap solution can effectively clean the area without harming the paint. Regular maintenance will ensure your screen remains vibrant and functional for years to come.
Avoiding Damage
Be mindful of the environment to prevent unintentional damage. Avoid using sharp objects near the painted surface, and consider placing furniture or projectors at a safe distance to prevent scratching or scuffing. If your screen is installed in a high-traffic area, think about adding protective barriers or furniture to discourage physical contact with the painted surface.
Enhancing Your Viewing Experience
Optimize Your Home Theater Setup
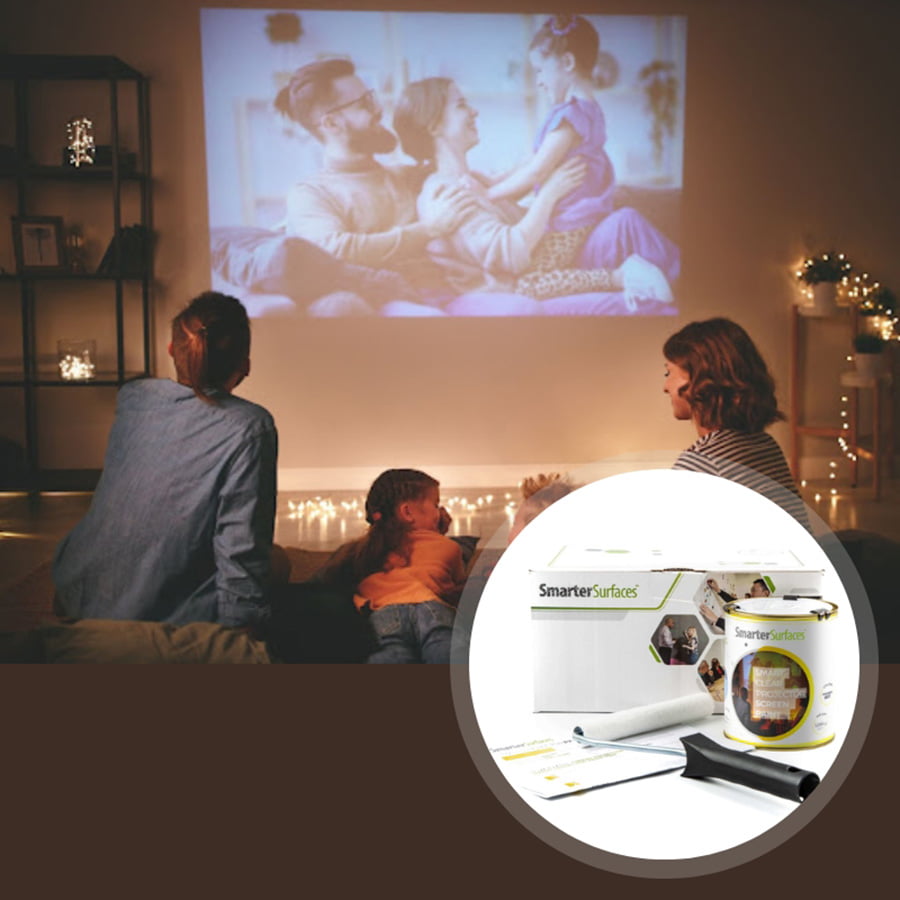
Once you’ve successfully applied projector screen paint, consider enhancing your home theater setup for the ultimate viewing experience. Room darkening curtains can significantly improve image quality by reducing ambient light. Soundproofing the room may also provide a more immersive experience, allowing effective audio delivery without distractions.
Invest in Quality Equipment
Pair your newly painted screen with quality projector equipment that suits your needs. Whether you opt for a 4K projector, UHD content, or high-quality speakers, choosing the right technology contributes to the overall viewing experience. A projector that matches your screen size and resolution ensures you get the best performance from your setup, making movie nights or presentations truly unforgettable.
Conclusion
Applying projector screen paint effectively transforms your viewing space into a stunning home theater or presentation area. With the right materials, careful preparation, and a strategic approach, you can achieve professional-quality projections right at home. Whether for gaming, movies, or professional settings, this process allows you to custom-tailor your screen to your needs while optimizing your available space. Ultimately, investing time and effort into this project will yield lasting results, turning your walls into a canvas for breathtaking visuals that captivate and entertain. With the tips and guidance provided, you’re well on your way to experiencing the stunning results of applying projector screen paint. Enjoy your journey into the world of exceptional visual displays!