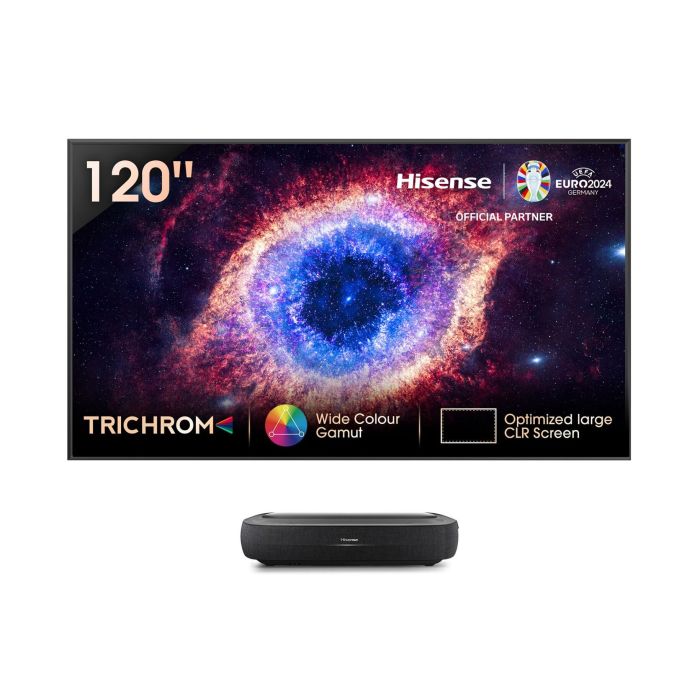
Laser TV projectors have become increasingly popular for home entertainment, offering large-screen experiences that rival traditional displays. With their ability to deliver vibrant colors, deep contrasts, and stunning resolutions, they can transform any room into a cinematic paradise. However, to truly maximize your viewing experience, you need to consider various factors, from placement to lighting, and even sound. This guide will walk you through essential tips to enhance your enjoyment of a laser TV projector.
Choosing the Right Laser TV Projector
Understanding Specifications
Selecting the optimal laser TV projector starts with understanding its specifications. Look for features such as resolution, brightness (measured in lumens), and contrast ratio. A 4K projector provides exceptional clarity, making it perfect for immersive movie experiences or gaming.
Brightness is equally important; a projector with at least 2,500 lumens ensures visibility even in well-lit rooms. If you plan to watch during the day, opt for a brighter model. Contrast ratio measures the difference between the darkest and lightest parts of the image, and a higher ratio translates to a more dynamic picture.
Assessing Your Space
Your viewing environment plays a significant role in your projector choice. Measure the room size and distance between the projector and the screen to determine the appropriate throw distance. A short-throw projector can project large images from a shorter distance, making it ideal for smaller rooms. Conversely, a long-throw projector suits larger spaces.
Also, consider seating arrangements. Ensure that the projector’s image size fits your screen or wall and that viewers can comfortably see without straining their necks or eyes. Investing time in this step will set the stage for a fantastic viewing experience.
Proper Installation and Setup
Positioning Your Projector
Correct placement is vital for optimizing performance. Mount your projector at the appropriate height, ideally at or slightly below the top of the screen. This positioning helps eliminate keystone distortion, where the image appears trapezoidal instead of rectangular. Many projectors come with lens shift options that let you adjust the image without moving the unit.
Make sure the projector is level, which is essential for maintaining picture quality. Use a spirit level to confirm alignment and adjust as necessary. Taking the time to position your projector correctly will enhance image clarity and overall viewing pleasure.
Connecting Devices
Connect your projector to essential devices early in the setup process. This may include streaming devices, gaming consoles, or Blu-ray players. Ensure that your connections are secure, and match the appropriate input settings on the projector. Consider using HDMI cables that support 4K or HDR formats to maximize picture quality.
Don’t overlook wireless options. Many projectors support Wi-Fi connectivity, allowing you to stream content directly. If your projector has this feature, set it up to ensure a seamless viewing experience. Investing time in connecting devices will eliminate complications later and streamline your movie nights.
Screen Selection and Placement
Choosing the Right Screen Type
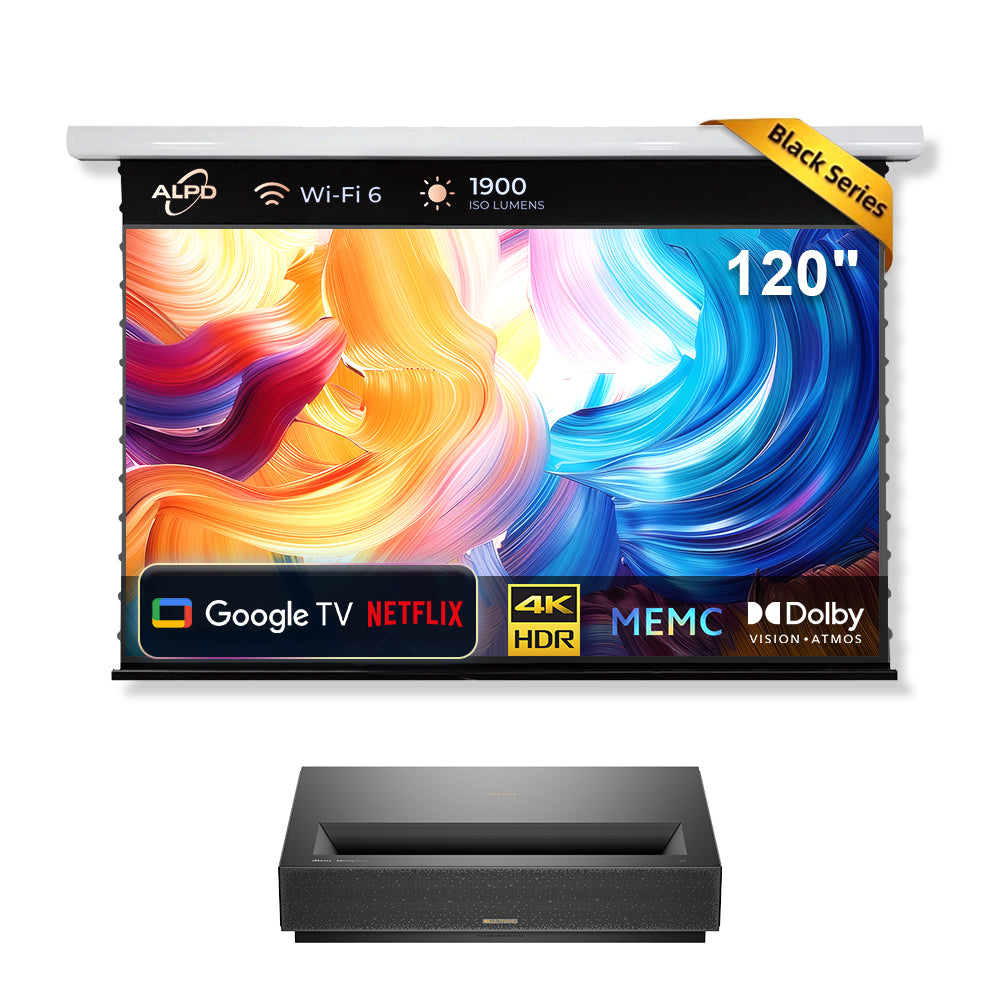
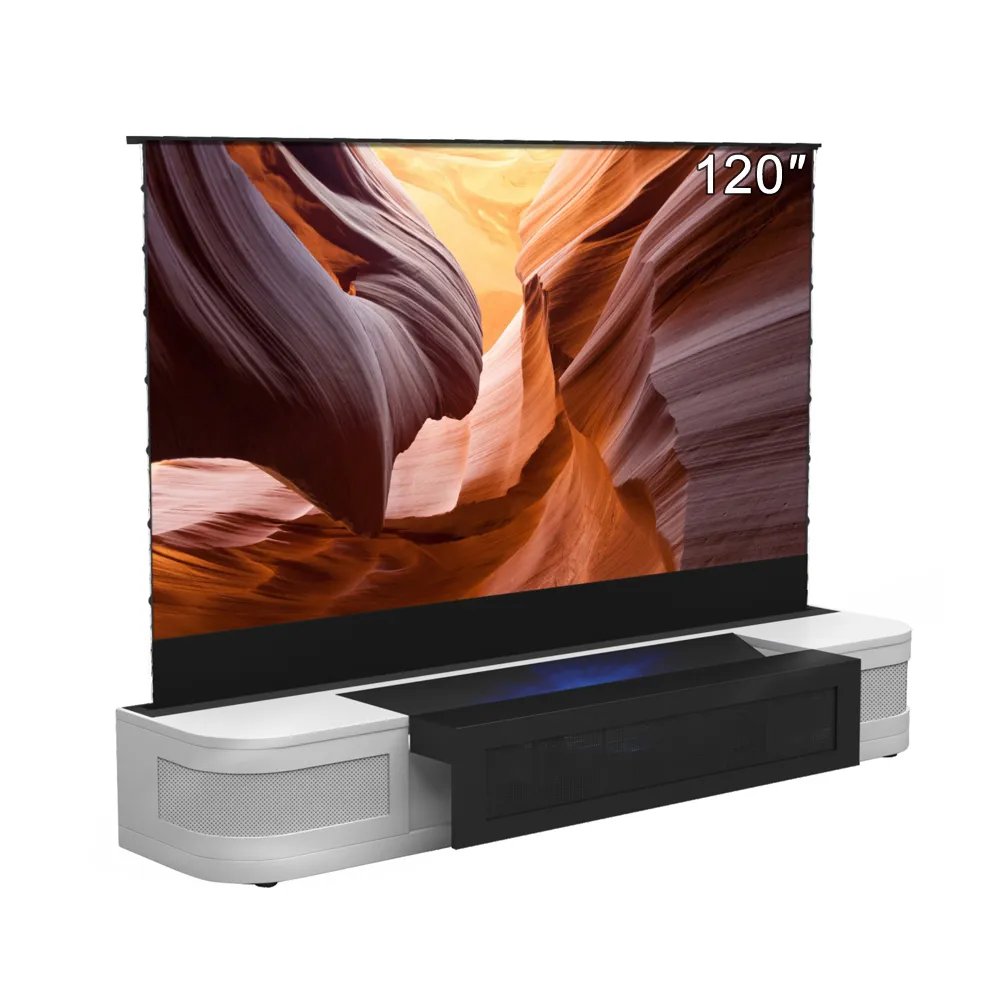
Selecting the appropriate screen can significantly enhance your projection experience. Screen materials differ in reflectivity and texture, and these factors affect how the projected image appears. For instance, a matte finish minimizes glare, while a glossy surface enhances brightness.
Consider whether you want a fixed, retractable, or portable screen based on your space and usage frequency. A fixed screen can be permanently installed for a home theater, while a retractable option is excellent for multi-purpose rooms. Portable screens are perfect for outdoor movie nights and flexible setup, allowing you to adapt to various viewing environments easily.
Positioning the Screen
Placement of the screen is vital for achieving a comfortable viewing experience. It should be positioned at eye level when seated to prevent neck strain. The ideal viewing distance is usually between 1.5 to 2.5 times the width of the screen; this distance provides an immersive experience.
Additionally, ensure that there is enough space around the screen for proper ventilation, as projectors can generate heat. Place the screen on a stable surface or mount it securely to the wall to maintain stability during use. Taking the time to find the right position will enhance your viewing comfort significantly.
Controlling Ambient Light
Understanding Light Impact
Ambient light can dramatically affect the quality of your viewing experience. In bright rooms, reflections and glare may wash out colors and details, reducing the overall impact of the video. Understanding how light interacts with your space is crucial for optimizing your projector’s performance.
You may not have complete control over your environment, but minimizing unwanted light can enhance your experience. Pay attention to windows, lamps, and other sources of light in the room.
Solutions for Light Control
Use blackout curtains or shades to block external light during viewing hours. This solution can significantly improve picture quality, revealing stunning colors and contrasts. If natural light is unavoidable, consider using light-filtering curtains that allow some illumination without overpowering the projector’s output.
In addition to window treatments, strategically placing lamps and light fixtures can help control brightness. Use dimmable lights or adjustable mountings to create the right atmospheric setting. Investing in these solutions will not only enhance your projector’s functionality but also elevate the overall ambiance of your viewing area.
Adjusting Picture Settings
Fine-Tuning Image Quality
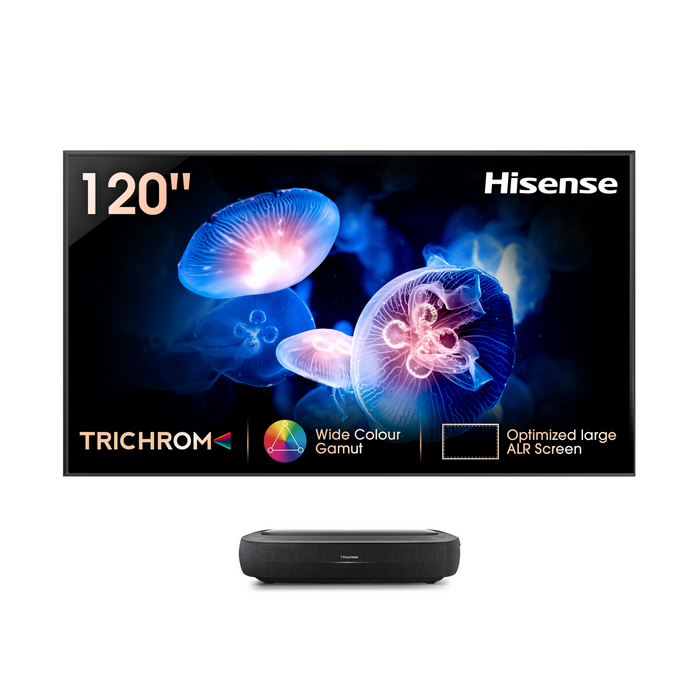
Once your projector is set up, adjusting picture settings for optimal viewing is essential. Start with the projector’s default settings, but remember that they may not always be ideal for your particular viewing environment.
Adjust the brightness, contrast, color saturation, and sharpness according to your preferences. Many projectors offer picture modes tailored for different scenarios, such as “Cinema,” “Vivid,” or “Game.” Experiment with these modes to identify what resonates most with you.
Calibration for Perfection
Consider calibrating your projector for more precise image quality. Calibration tools, either built into the projector or available as separate devices, can help you fine-tune settings accurately. Calibration ensures that colors appear true to life, significantly enhancing your viewing experience.
For those unsure about how to calibrate correctly, there are plenty of online resources and guides that can help. Alternatively, investing in a professional calibration service can ensure optimal settings tailored specifically to your needs.
Enhancing Sound Quality
Importance of Good Audio
While the visual aspect of a projector shines, audio quality is equally important for an immersive experience. Most laser TV projectors feature built-in speakers, but for expansive sound, using external speakers or a soundbar can enhance audio performance significantly. Great visuals paired with rich, clear sound will elevate your home theater experience beyond mere screen enjoyment.
Consider the size of your room when selecting speakers. For larger spaces, a surround sound system may offer the best experience, immersing you in audio from multiple angles. In contrast, smaller rooms may only require a high-quality soundbar for adequate sound reproduction.
Connecting Audio Devices
During the setup, ensure you connect any external audio devices correctly. Many projectors include HDMI ARC, optical, or audio out ports for easy connections to sound systems. Consider using an HDMI receiver to simplify your cables and allow seamless switching between devices.
After setting up the audio system, conduct sound tests. Play familiar tracks or scenes from your favorite movies to identify any sound discrepancies. Adjust settings, such as bass and treble, to suit your preferences. Finding the right audio setup will enhance your engagement with what you are watching.
Maintenance for Longevity
Routine Care Tips
To ensure your laser TV projector lasts, regular maintenance is key. Start by cleaning the lens periodically. Dust and dirt can accumulate, affecting image clarity. Use a microfiber cloth to gently wipe the lens, avoiding abrasive materials that could scratch the surface.
Additionally, keep the projector’s vents clear. Overheating can affect performance and lifespan, so ensure no obstructions block airflow. If you notice the projector getting unusually hot, check for dust buildup inside the unit.
Scheduling Professional Services
In addition to routine maintenance, consider scheduling professional servicing every year. Technicians can perform thorough cleanings and check for any potential issues that might require attention. They can also recalibrate settings and ensure that your projector operates optimally.
Investing in regular maintenance not only extends the projector’s lifespan but also preserves the quality of your viewing experience. With proper care, you can look forward to enjoying your laser TV projector for years to come, making your home entertainment truly exceptional.
Enjoy Your Viewing Experience
With careful planning and thoughtful execution, a laser TV projector can transform your viewing experience. By selecting the right model, positioning it correctly, and paying attention to audio-visual settings, you can create an immersive environment that rivals the best movie theaters. Addressing maintenance concerns ensures that your investment continues to bring joy and entertainment for years. Embrace the cinematic experience in your home and enjoy the countless hours of entertainment a laser TV projector can provide.
