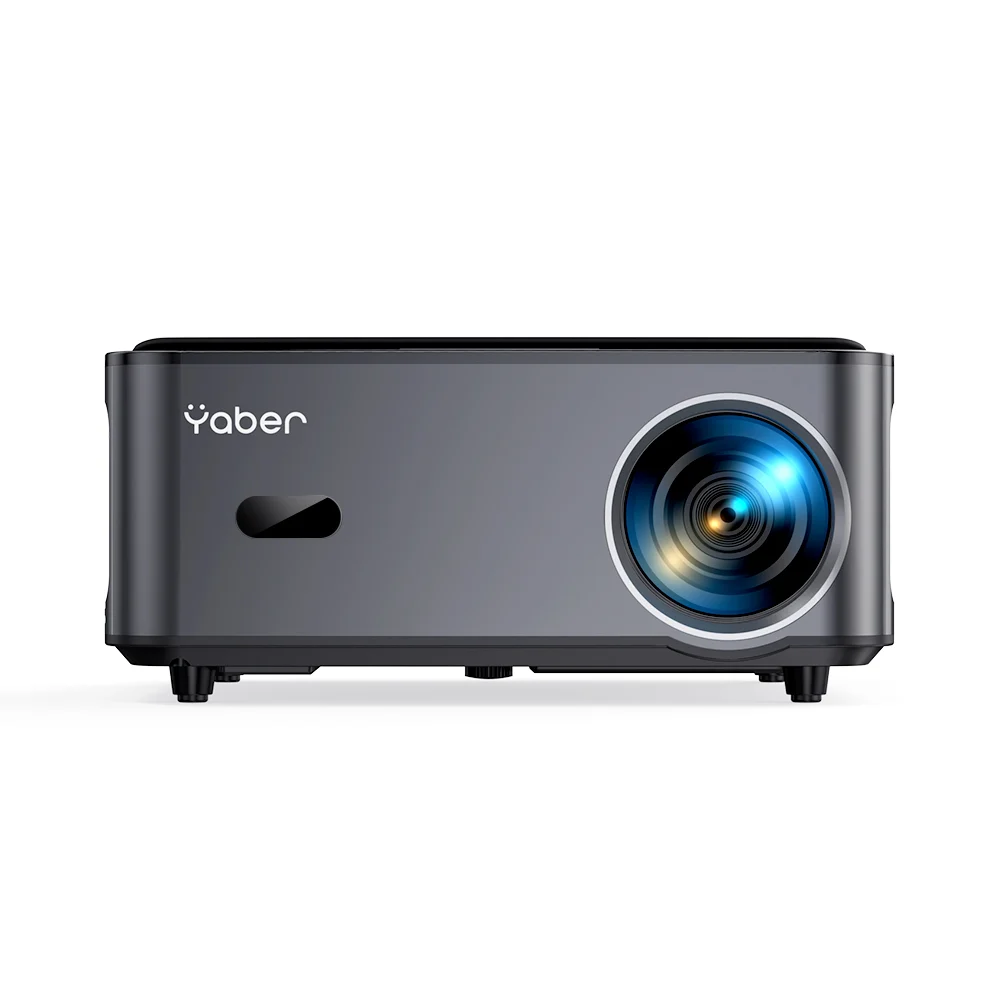
Setting up your Yaber projector can transform your viewing experience, whether you’re watching movies, giving presentations, or gaming. To make the most of your projector, it’s essential to understand the setup process and optimize its performance. This guide will provide detailed tips and best practices for effectively setting up and using your Yaber projector.
Unpacking and Understanding Your Yaber Projector
What’s in the Box
Before diving into the setup process, take a moment to unpack your Yaber projector and familiarize yourself with its components. You should find the projector itself, a power cable, a remote control, an HDMI cable, and perhaps a user manual. Inspect the projector for any visible damage, and ensure all items are included.
Keep the user manual handy; it offers valuable information about your specific model’s features and functions. Understanding the ports and buttons on the projector can help you navigate its settings and connections more easily.
Choosing the Right Location
Finding an ideal location for your projector is crucial. Consider both the viewing environment and the dimensions of the space where you plan to use it. Ideally, your projector should be set up in a darkened room to enhance the image quality. If you’re using it during the day, ensure that the room can be adequately shaded from direct sunlight.
Positioning is essential too—decide if you will mount the projector on the ceiling, place it on a table, or use a portable stand. Make sure the projector has enough distance from the screen to project the desired image size. Yaber projectors usually have a defined throw ratio, indicating how far they need to be from the screen to project specific image sizes.
Connecting Your Yaber Projector
Understanding Connection Types
Yaber projectors typically support various connection types such as HDMI, USB, VGA, and wireless connections. Understanding the options can help you find the best way to connect your source device, whether it’s a laptop, gaming console, or streaming device.
For most modern devices, HDMI connections provide the best quality in both video and audio. Ensure your projector model includes the necessary ports for your needs. If your device only has USB-C, for instance, you might need an adapter. Clear communication about your devices will help streamline the setup process.
Establishing Wireless Connections
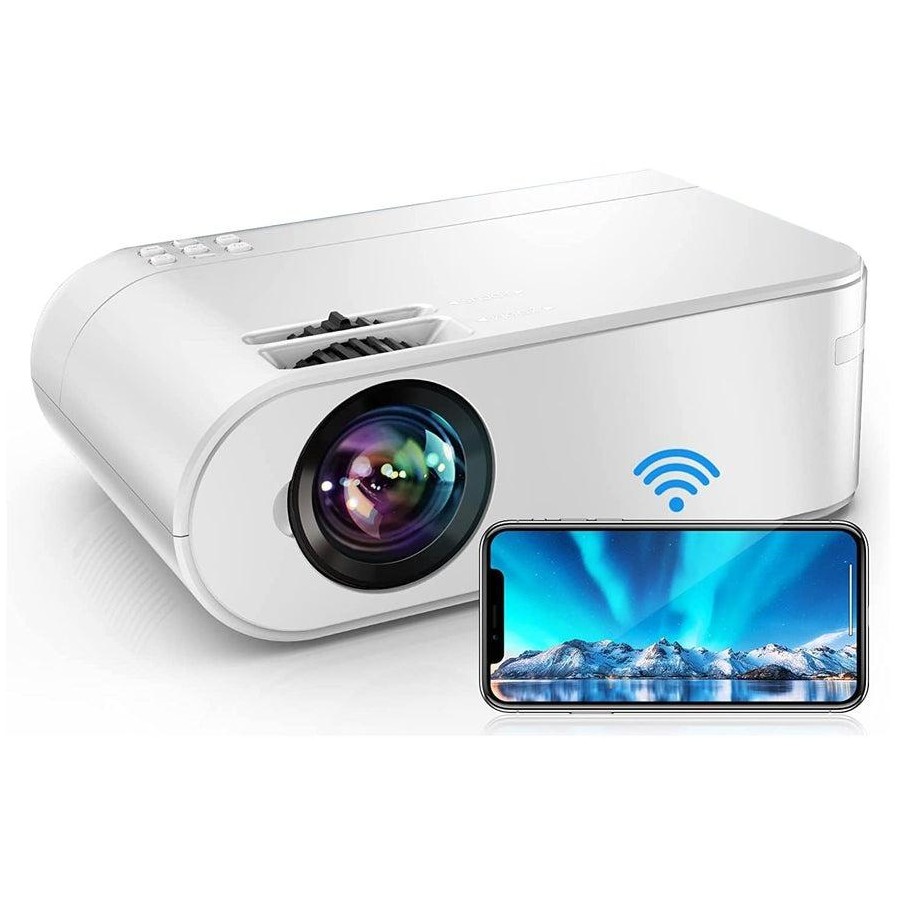
If your Yaber projector supports wireless connectivity, you can share your screen without the hassle of cables. Begin by connecting the projector to your Wi-Fi network using the settings menu. Follow the prompts on the screen to enter your network information.
Once connected, you can use screen mirroring options, available on many smartphones and tablets, to project content directly from your device. This feature is particularly handy for presentations and sharing media on the go. Be sure to check that your projector is compatible with your mobile operating system for seamless connectivity.
Adjusting Projector Settings
Upon powering on your Yaber projector, access the menu to adjust various settings. You can usually do this through the remote control. Familiarize yourself with key settings, including brightness, contrast, keystone correction, and language preferences.
Adjusting brightness can significantly enhance image quality, particularly in well-lit rooms. Many models come equipped with different brightness modes (like Eco and Standard), so test each setting to find what looks best for your specific environment.
Focusing the Image
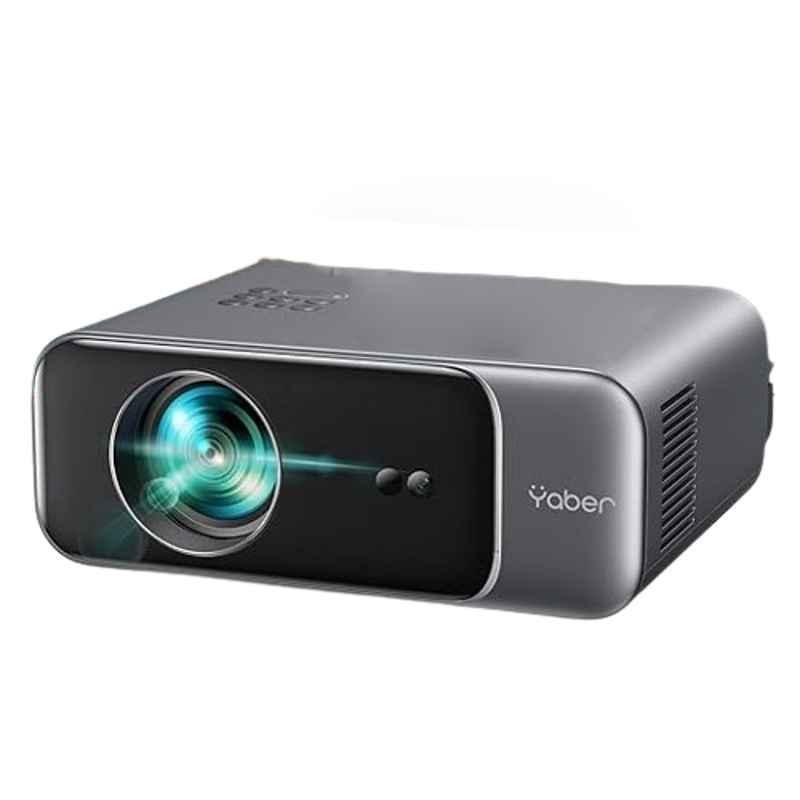
Once you have the basic settings adjusted, you’ll want to focus the image for optimal clarity. Most Yaber projectors feature a focus wheel or button, allowing you to sharpen the image. Take the time to ensure the image is clear and free of distortions.
If your projector has keystone correction features, use them to fine-tune the image. Keystone correction helps adjust trapezoidal distortions that can occur when the projector is not perfectly perpendicular to the screen. Making these adjustments early on will set the stage for a visually stunning experience.
Selecting the Right Projection Surface
Choosing a Screen or Wall
The surface onto which you project has a tangible impact on quality and clarity. For best results, consider investing in a dedicated projector screen. These screens are designed to maximize light reflection and provide a flat surface for your images.
If purchasing a screen isn’t feasible, a smooth, white wall can work adequately. Avoid textured or dark materials, as they will absorb light and reduce image quality. Always test your setup by projecting an image onto your chosen surface to see how it performs before settling into a viewing session.
Consider Ambient Light Control
Ambient light can severely impact the visibility of the projected image. Test the brightness of your projector in different lighting conditions to determine the best setup. You may find that certain times of day or settings work better than others.
Consider using blackout curtains or window shades if you’re using the projector in a room with natural light exposure. Reducing indirect light can vastly improve the quality of the image, creating a more enjoyable viewing experience.
Optimizing Audio Settings
Connecting External Speakers
For an immersive experience, don’t underestimate the importance of audio quality. If your Yaber projector offers an audio output option, consider connecting it to external speakers for enhanced sound. Most projectors have a built-in speaker sufficient for casual use, but for movies or gaming, external audio will elevate the experience.
Check the audio settings in the projector menu to ensure you route the sound appropriately. Make sure your external speakers are connected and powered up before starting your media. Testing the audio sync with video ahead of time provides peace of mind during your actual viewing session.
Volume Control and Adjustments
Like brightness, adjusting the projector’s volume settings can greatly affect your viewing pleasure. Explore the volume settings through the remote control, and ascertain that the sound level is appropriate for the atmosphere you wish to create.
Some projectors may even come with equalizer settings that allow you to tailor the audio output according to your preferences. Experimenting with these options can significantly enhance your movie nights or gaming sessions.
Testing Your Setup and Fine-Tuning
Running Test Projections
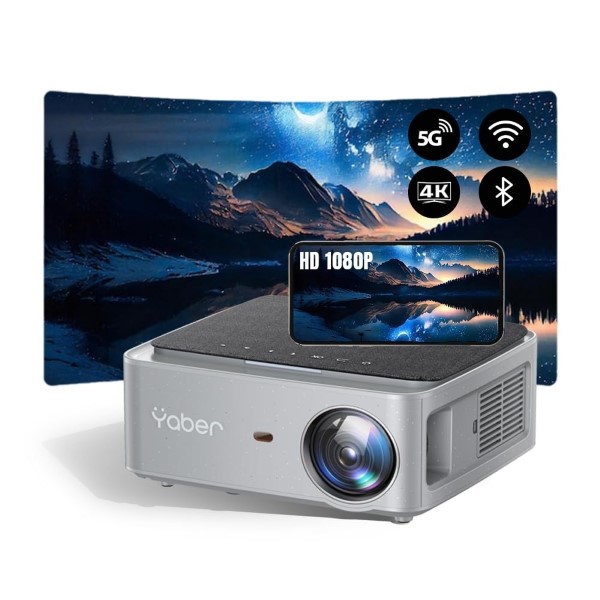
After completing your setup, it’s time to run a test projection. Choose a video or image that you know well to test clarity, color accuracy, and audio quality. Observing the media in various settings will help identify any lingering issues, allowing for adjustments before you dive into the main viewing experience.
During your test, monitor the projector’s fan noise and heating. You want to ensure that the projector operates quietly and remains cool, preventing any disruptions during use. If you notice excessive noise or heat, verify if the projector’s ventilation is clear and unobstructed.
Fine-Tuning Settings
Take note of any adjustments you wish to make as you test your projector. Fine-tune settings such as brightness, contrast, focus, and color balance based on your observations. Many users find that subtle tweaks can make a significant difference in overall image quality.
Don’t hesitate to revisit the keystone correction and focus areas if the test image still produces distortions. Finalizing these details before your main event will create a more enjoyable viewing environment.
Maintenance Tips for Longevity
Cleaning the Projector Lens
To ensure optimal performance, regularly clean the projector lens. Dust and smudges can diminish clarity and impact color representation. Use a microfiber cloth and a gentle cleaning solution designed for optical devices. Avoid using harsh chemicals that could damage the lens coating.
Additionally, clean the projector’s filters according to the manufacturer’s instructions. Dust buildup can affect the projector’s performance and lifespan. Generally, air filters should be cleaned or replaced every few months, depending on the environment in which you use the projector.
Regular Software Updates
Keeping your projector’s software up to date ensures you’re benefiting from the latest features and performance improvements. Check the Yaber website or the projector’s settings for any available updates. Following the manufacturer’s recommendations can prolong the projector’s usefulness while providing enhancements to functionality.
Make updating part of your regular maintenance routine. Staying current on software not only improves performance but can also fix existing bugs or optimize features.
Enjoying Your Yaber Projector
With the right setup and ongoing maintenance, your Yaber projector can provide an exceptional viewing experience that enhances entertainment, education, and presentations. By carefully selecting the location, connecting devices correctly, and optimizing settings, you can ensure that every use of the projector meets your expectations.
Take the time to explore all features the projector offers. Engage with the various settings and options available to make your viewing experience unique and enjoyable. Your investment in a Yaber projector will ultimately reward you with high-quality visuals, impressive sound, and valuable shared moments with friends and family. Enjoy the world of immersive visuals and sounds right in the comfort of your home!
