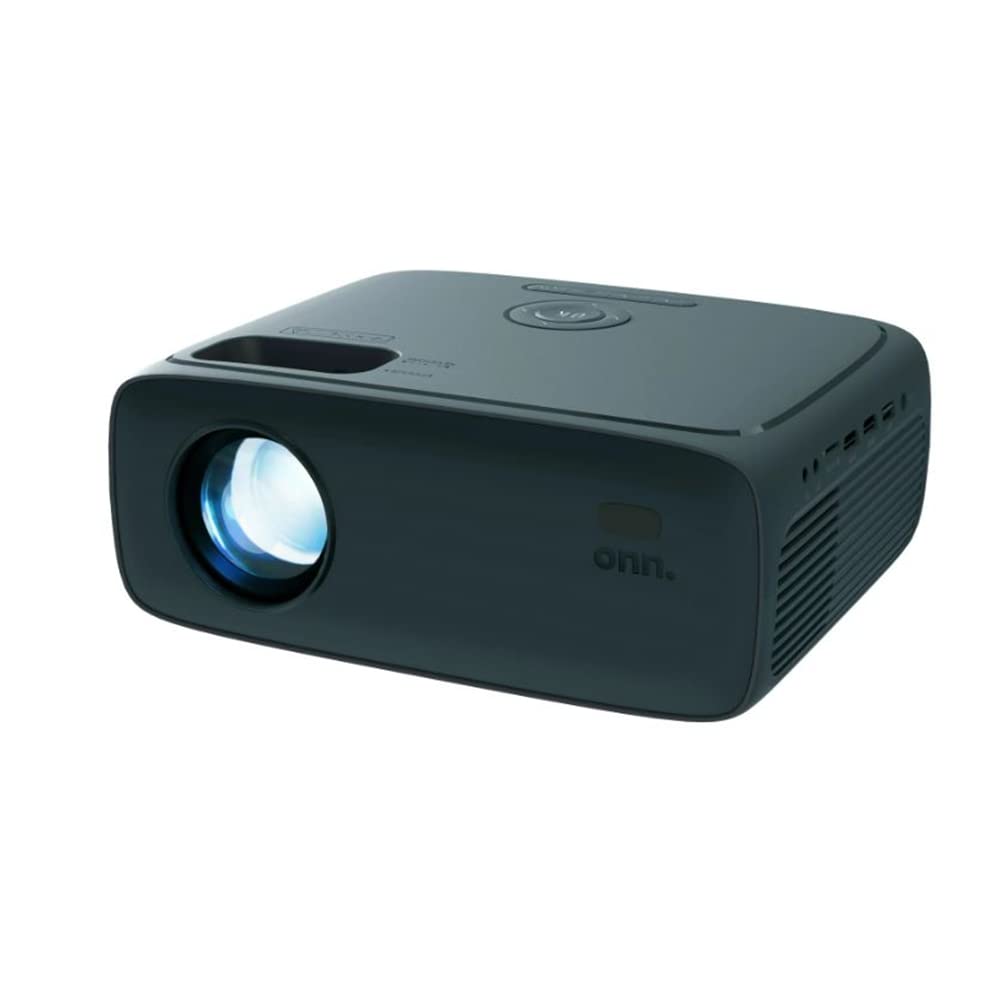
Setting up a projector can transform your living space into a home theater or enhance presentations for work. The Onn projector offers impressive features that cater to both casual viewers and serious cinephiles. However, achieving the best possible viewing experience requires careful setup and optimization. This guide walks you through the steps to set up your Onn projector effectively, ensuring you enjoy crystal-clear images and immersive sound.
Unboxing and Initial Setup
Checking the Contents
Before diving into the setup process, take a moment to unpack your Onn projector and check for all included components. Typically, you should find the projector itself, a remote control, power cables, an HDMI cable, and a user manual. Double-check that everything is as expected, as missing items can hinder your installation and usability.
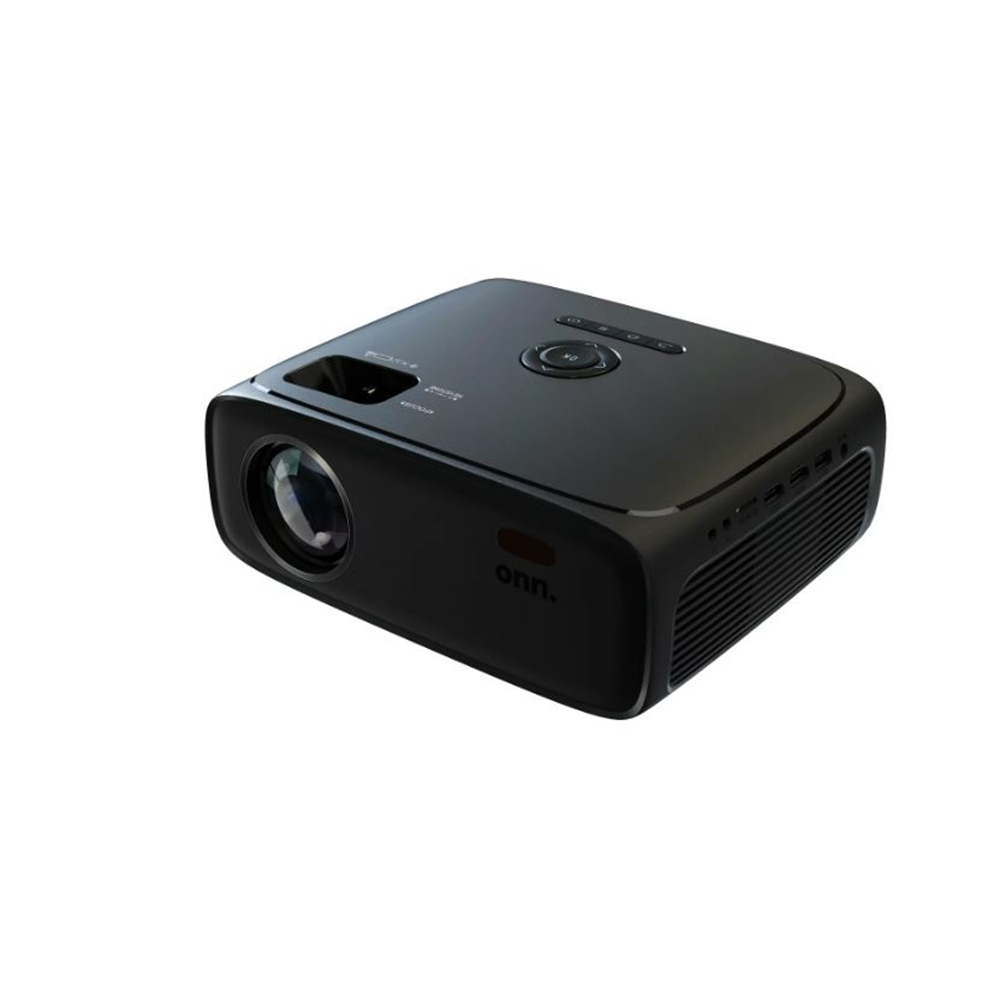
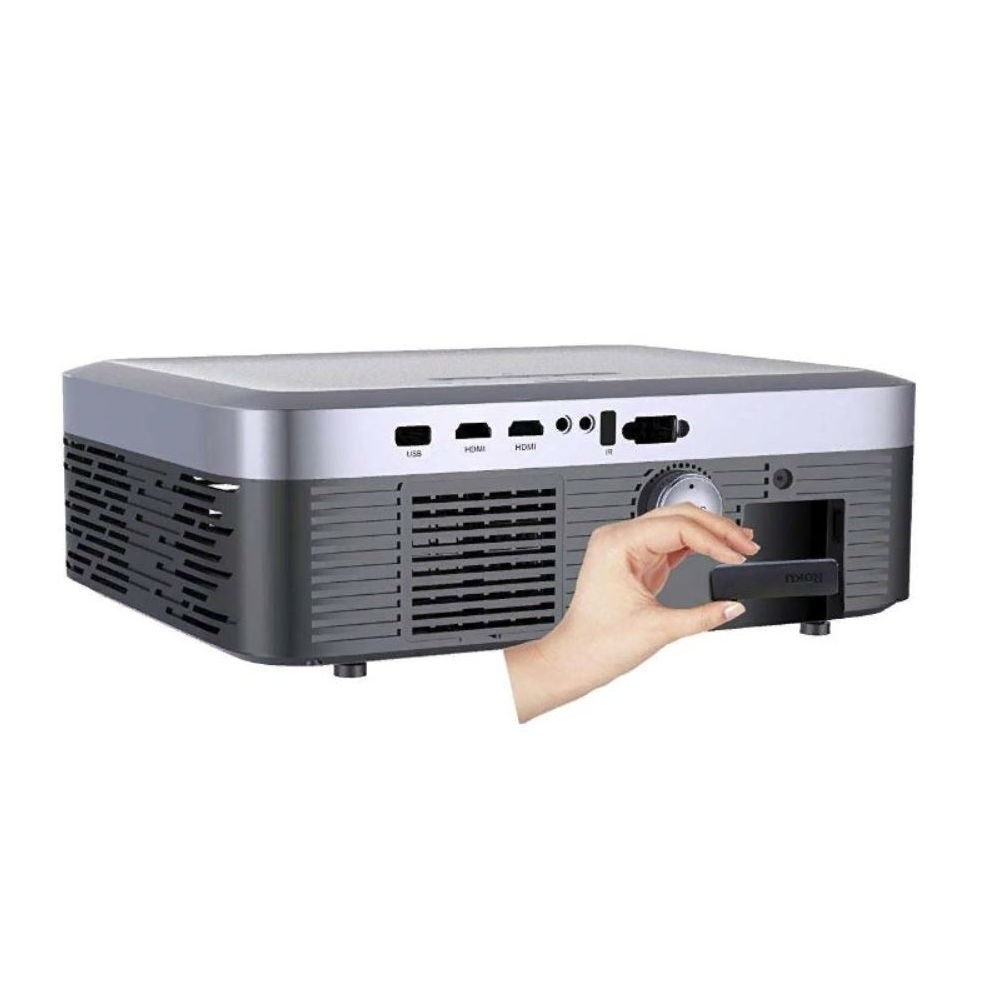
Familiarize yourself with the various ports available on the projector. Most Onn projectors come equipped with HDMI, USB, and audio output ports, which allow connection to a variety of devices such as laptops, gaming consoles, and media players. Knowing these connections upfront can simplify the setup process.
Choosing the Right Location
Finding the ideal location for your projector is crucial for achieving the best viewing experience. Consider factors such as screen size, ambient light, and distance from your projection surface. Ideally, your projector should be positioned at a height that aligns with the center of the screen to avoid any distortion.
If you plan on projecting onto a wall, make sure it’s smooth and ideally white or light-colored, as this enhances image quality. Additionally, try to limit external light sources in the room. Blinds or curtains can help reduce glare, creating a darker environment that improves contrast and clarity.
Setting Up the Screen
Choosing a Projection Surface
The projector screen is a key component of your viewing experience. While you can project onto a wall, using a dedicated screen can significantly enhance image quality. Various materials are available, such as matte, glossy, or high-gain screens, each offering different benefits. For most home setups, a matte white screen provides a balanced diffusion of light and color.
Consider the size of the screen as well, ensuring it fits comfortably within your viewing space. The general recommendation is to position the screen at eye level when seated. This setup minimizes neck strain and makes for a more enjoyable viewing experience.
Mounting the Screen
If you opt for a dedicated screen, follow the manufacturer’s instructions for mounting it securely. Ensure that it is at the correct height and is level. Many screens come with wall brackets for easy installation, while others may be portable. If you choose a portable option, practice setting it up in your chosen position before the show to alleviate any last-minute hassles.
Also, consider how much space you have. You can decide between a fixed screen or a retractable one based on your room layout. A fixed screen offers a permanent solution, while a retractable screen is ideal for those who want flexibility in their living arrangements.
Positioning the Projector
Calculating Distance
Once you have your screen set, it’s time to position the Onn projector itself. Measure the distance from the screen to the position where you want to place the projector. Most projectors have a throw ratio specified in the manual, which indicates how far away the projector needs to be based on the desired image size.
For example, if your projector has a throw ratio of 1.5:1, and you want a 100-inch image, you would need to place the projector approximately 12.5 feet away from the screen. Keeping the distance within recommended parameters ensures that the image remains sharp and clear.
Adjusting the Angle
After positioning the projector, make any necessary adjustments to the angle. If the image appears tilted, you may need to manually adjust the legs or use the keystone correction feature if available. Keystone correction helps square up the image, minimizing the trapezoidal effect when the projector isn’t perfectly aligned with the screen.
Take your time during this step; a well-aligned projector can make a significant difference in the overall image quality. Additionally, you might want to experiment with the height of the projector to find the most visually comfortable setup.
Connecting Your Devices
Selecting Input Sources
Now that your Onn projector is in place, it’s time to connect it to your desired devices. Most Onn projectors support multiple input sources, including HDMI, USB, and VGA. Choose the device you’ll use the most, whether it’s a laptop, streaming device, or gaming console, and connect it to the projector using the appropriate cable.
Make sure the projector is powered on and switch it to the correct input source using the remote control. If you are using HDMI, ensure the device is compatible and that the cable can handle the resolution you wish to project. This selection is crucial for delivering high-quality video and audio.
Connecting Audio
Audio quality is just as important as visual display quality. Many Onn projectors support external speakers or sound systems for enhanced audio. If your projector lacks built-in speakers—or if you desire better sound—connect an external audio source via the audio out port.
You can consider options such as Bluetooth speakers, soundbars, or traditional wired speakers. Adjust the volume settings on both the projector and the external audio device to ensure a balanced sound experience.
Configuring Settings
Once you’ve connected your devices, it’s time to configure your projector settings. Access the projector’s menu using the remote control. Review options like picture settings, sound preferences, brightness levels, and eco mode. Adjusting these settings can enhance your viewing experience significantly based on the content you plan to watch.
For movies, increasing contrast and adjusting color saturation can make a dramatic difference. If you plan to use the projector for gaming, you might want to change settings to reduce input lag or enhance motion clarity. Familiarizing yourself with the projector’s menu allows you to optimize settings tailored to your viewing needs.
Calibrating Image Quality
After setting your preferences, take the time to calibrate the image quality. Adjust the focus to create a sharp image, and if your projector has a zoom function, use it to fine-tune the size of the projected image. Additionally, consider adjusting the aspect ratio, especially if you’re watching content in different formats (e.g., widescreen vs. standard).
Calibrating image quality may require a little trial and error, but the effort pays off when you sit down to enjoy your movie or gaming session. A crisp and vibrant image significantly enhances your overall experience.

Maintenance and Care
Regular Cleaning
To ensure the quality of your projections remains high, dedicate time to regular maintenance. Dust can accumulate on the lens, affecting image brightness and clarity. Use a microfiber cloth to gently clean the lens before each use or at least once a month. Avoid using harsh chemicals, as these can damage the lens coating.
Additionally, clean vents and filters according to the manufacturer’s recommendations. Dust buildup on cooling vents can lead to overheating, potentially damaging the internal components. Keeping your projector clean will help extend its lifespan and performance.
Updating Software
If your Onn projector offers firmware updates or app integrations, make sure to check regularly for updates. Software improvements can enhance performance, fix bugs, and introduce new features. Upgrading software is usually straightforward—simply follow prompts in the projector’s menu or consult the user manual for specific instructions.
Taking these additional steps ensures your projector continues to perform at its peak, allowing you to enjoy an exceptional viewing experience.
Enhancing Your Viewing Experience
Creating the Right Atmosphere
Once your projector is set up, consider how to enhance the viewing ambiance. Dimming the lights or drawing curtains can greatly improve your viewing experience. An environment that minimizes distractions will help you focus more on the content and less on outside disturbances.
For movie nights, consider adding comfortable seating arrangements and snacks to create a true cinematic experience. Cozy blankets and pillows can also enhance comfort, encouraging longer viewing sessions without discomfort.
Experimenting with Screen Settings
Finally, don’t hesitate to experiment with various screen settings. Different genres of content may require different configurations for optimal viewing. For example, brighter settings may be better suited for daytime viewing, while darker settings can improve contrast during night-time screenings.
Remember that the best viewing experience is often subjective. As you become more familiar with your Onn projector and its capabilities, you’ll be able to tailor your setup to your preferences, ensuring that every movie night or gaming session is enjoyable.
Enjoy Your Onn Projector
Setting up your Onn projector doesn’t have to be a daunting task. By following this guide, you can create a fantastic viewing environment that elevates your movies, games, and presentations. Remember, the key to a great experience lies in proper setup, routine maintenance, and a comfortable atmosphere.
Investing time in understanding your projector’s functionalities will make future usage a breeze. With the right setup, you’ll transform your living space into an entertainment hub that friends and family can enjoy together. So grab some popcorn, settle in, and enjoy everything your Onn projector has to offer!