The Essential Guide to Freeing Up iPhone Storage
Modern iPhones capture stunning, high-resolution images and 4K videos. Consequently, storage space fills up incredibly fast. Many users face the dreaded “Storage Full” notification at the worst moments. Furthermore, relying solely on iCloud can become expensive as storage needs grow. Therefore, using an external hard drive provides a cost-effective and secure alternative. It allows you to keep your precious memories safe without paying monthly subscription fees. This guide focuses on a specific and highly sought-after process. We will explain exactly how to transfer photos from iphone to external hard drive using mac. This method combines the reliability of physical storage with the seamless ecosystem of Apple products.
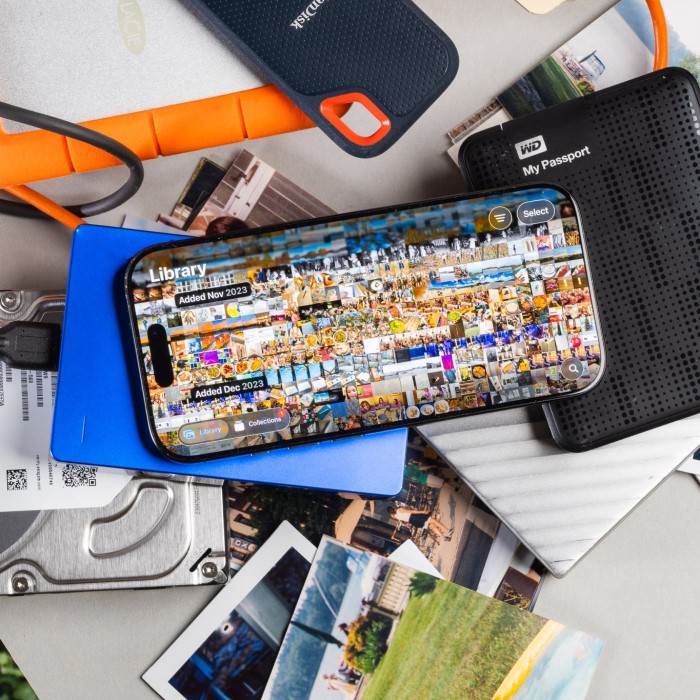
Transitioning your data manually gives you complete control over your files. You decide exactly where they go. Additionally, you can organize them into specific folders by date or event. This is much more flexible than the automatic sorting often found in cloud services. Moreover, creating a physical backup is a crucial part of digital hygiene. Hard drives can fail, but having a dedicated backup ensures redundancy. For photographers and content creators, this workflow is essential. It frees up the iPhone for more shooting while archiving previous work safely.
In this article, we will explore multiple methods to achieve this goal. We will cover the native Photos app, Image Capture, and direct file manipulation. Each method has its own advantages depending on your specific needs. Furthermore, we will troubleshoot common issues you might encounter during the process. By following these steps, you will master the art of photo management. You will never have to delete a precious memory just to make room for a new one again.
Preparing Your Hardware and Software for the Transfer
Before beginning the transfer process, you must ensure your equipment is ready. Proper preparation prevents data loss and frustration. First, check your external hard drive. It must have enough free space to accommodate your photo library. You should check the size of your library on your iPhone first. Go to Settings, then General, and finally iPhone Storage. This will show you the total gigabytes used by your photos. Consequently, you can verify if your drive has sufficient capacity. Ideally, the drive should have double the space to allow for future growth.
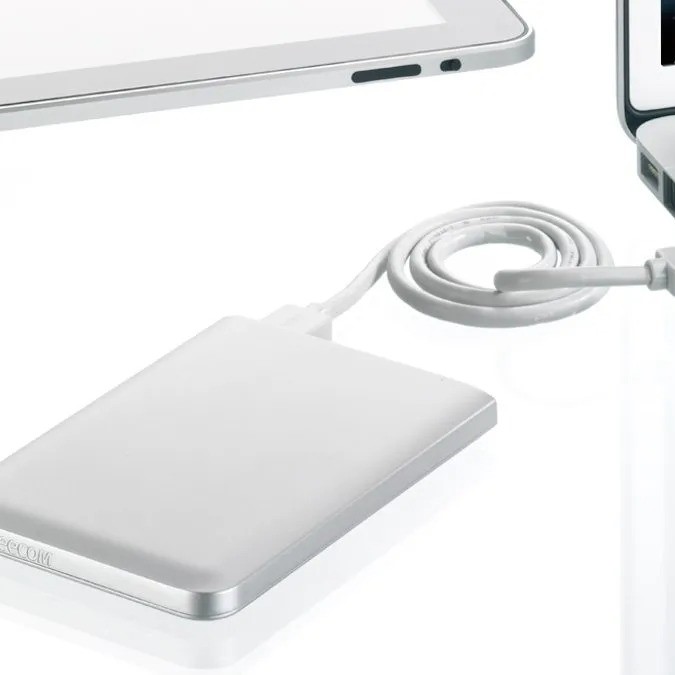
Furthermore, the file system of your external hard drive is critical. Macs generally read and write to drives formatted as APFS or Mac OS Extended. However, many drives come pre-formatted for Windows (NTFS). macOS can read NTFS drives but cannot write to them without third-party software. Therefore, you may need to reformat the drive. Use the Disk Utility app on your Mac to format the drive as APFS or ExFAT. ExFAT is a good choice if you also want to use the drive with a Windows PC. However, APFS is optimized for the Apple ecosystem. Always back up any existing data on the drive before reformatting. Reformatting erases everything on the drive.
Method One: Using the Mac Photos App for Transfer
The Photos app on Mac is the most common way to manage images. It provides a user-friendly interface for importing and organizing. First, connect your iPhone to the Mac using the appropriate cable. The Photos app should launch automatically. If it does not, open it manually from the Dock or Applications folder. You will see your iPhone appear in the sidebar under the “Devices” section. Click on your iPhone to view the import screen.
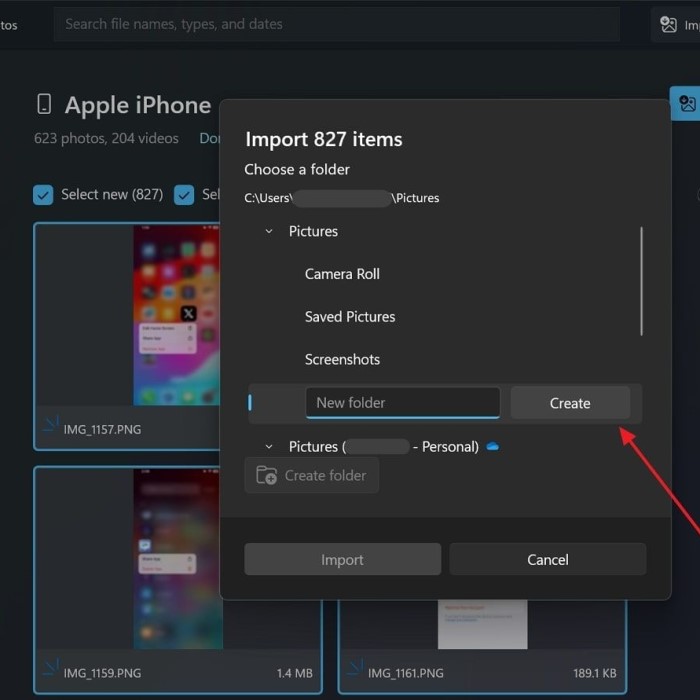
Next, you need to import the photos to your Mac first. This step is necessary because the Photos app stores images in a locked library file. You cannot easily drag and drop directly from the iPhone to the external drive within the app. Therefore, click the “Import All New Photos” button. Alternatively, you can select specific images by holding the Command key and clicking the photos you want. Then, click “Import Selected.” The progress bar will show the transfer status. Wait for this process to complete. Do not unplug your iPhone during this time.
Once the photos are in the Mac Photos library, you can export them. This is the crucial step to move them to your external drive. Connect your external hard drive to the Mac. Open the drive in a Finder window so it is visible on the desktop. Return to the Photos app. Select the photos you just imported. You can select all by pressing Command + A. Then, click “File” in the menu bar and select “Export.” Choose “Export Unmodified Originals” if you want the exact file from your iPhone. Alternatively, choose “Export [number] Photos” if you have edited them in the app. A dialog box will appear.
Method Two: Using Image Capture for Direct Transfers
Many users prefer to bypass the Photos app entirely. This is often faster and avoids cluttering your Mac’s internal drive. Fortunately, macOS includes a built-in utility called Image Capture. This lightweight application is perfect for direct transfers. First, connect your iPhone to the Mac. Then, connect your external hard drive. Open the “Image Capture” application. You can find it by pressing Command + Space and typing “Image Capture.” The app will recognize your connected iPhone quickly. It will display a list of thumbnails representing your photos.
The interface is clean and straightforward. You will see a navigation pane on the left. On the right, you have your images. At the bottom of the window, there is a dropdown menu labeled “Import To.” This is the key setting. Click this dropdown menu. Select “Other…” from the list. A Finder window will open. Navigate to your external hard drive. You can select the specific folder where you want to save the photos. Once selected, the drive name will appear in the “Import To” menu.
Now, you have two options. You can import all photos at once by clicking “Import All.” Alternatively, you can select specific photos. Hold the Command key and click the images you want. Then, click the “Import” button. This method sends the files directly from your iPhone to the external drive. It does not store them on the Mac’s internal SSD. Consequently, this is an excellent method for MacBooks with limited storage. Furthermore, Image Capture often detects the iPhone more reliably than the Photos app. It is a hidden gem for efficient file management. Once the transfer is complete, you can verify the files on the external drive. Then, safely eject your devices.
Method Three: Direct File Transfer via Finder
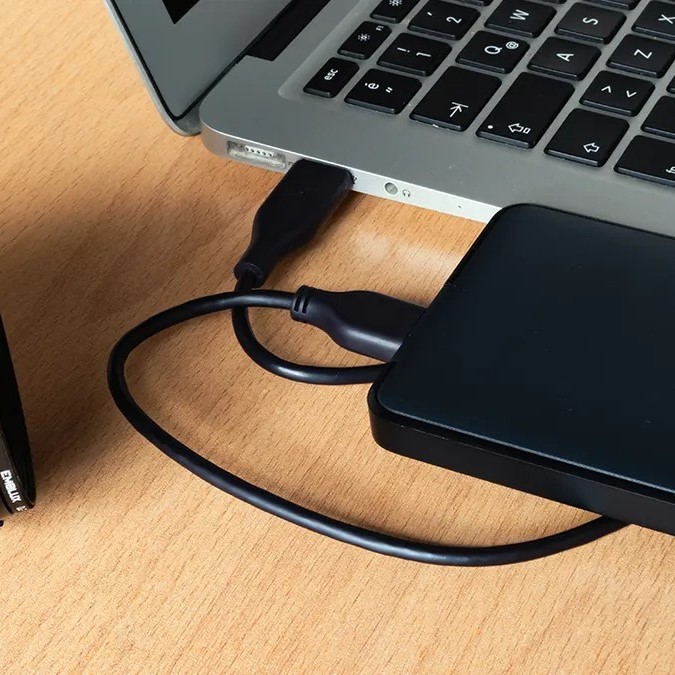
For users who want granular control, direct file transfer via Finder is a powerful option. This method treats your iPhone like a generic external storage device. However, it requires a bit of navigation. First, connect your iPhone and your external hard drive to your Mac. Open a new Finder window. In the sidebar, under “Locations,” you will see your iPhone listed. Click on it. You may need to click “Trust” on both your iPhone and Mac to establish a secure connection. Enter your passcode on the iPhone if prompted.
Once the connection is established, you will see a “Files” tab in the Finder window. However, accessing the DCIM folder (where photos are stored) is not always straightforward in modern iOS versions due to security protocols. Apple has made it harder to access raw photo files this way to prevent data corruption. Nevertheless, you can still access files from specific apps. If you have saved photos to the “Files” app on your iPhone, you can drag them directly. Click the “Files” tab in the Finder window. You will see a list of apps on your iPhone that store files. Locate the folder containing your images.
Drag the folder or files from the Finder window. Drop them directly into a folder on your external hard drive. This method is particularly useful for documents and files created by apps. However, for the main camera roll, the Photos app or Image Capture is usually more reliable. The Finder method is best reserved for specific file types or when other methods fail. It bypasses the need for a library database. Therefore, you get raw files exactly as they are stored. Remember to safely eject the iPhone after the transfer is complete. Simply unplugging it can corrupt the database.
Troubleshooting Common Transfer Issues
Technology does not always work perfectly. You may encounter issues while trying to transfer photos from iphone to external hard drive using mac. One common problem is the “Trust This Computer” prompt. If the prompt keeps reappearing, try a different cable. Alternatively, reset your Location & Privacy settings on your iPhone. Go to Settings, then General, then Transfer or Reset iPhone. Select “Reset” and choose “Reset Location & Privacy.” You will need to re-trust the computer. This often resolves persistent connection loops.
Another frequent issue is the external drive being “Read Only.” As mentioned earlier, this is due to the NTFS file format. If you cannot write to the drive, you cannot save photos. You must reformat the drive or use software like Paragon NTFS. Furthermore, some users experience slow transfer speeds. This usually happens with older USB cables or ports. Ensure you are using a high-quality cable. If you are using a USB hub, try connecting the drive directly to the Mac. Hubs can sometimes bottleneck data speeds.
Sometimes, the Photos app might freeze or crash. This can happen with very large libraries. If the app becomes unresponsive, force quit it. Then, try using Image Capture instead. Image Capture is lighter and less prone to crashing. Additionally, check if “iCloud Photos” is enabled. If it is, your photos might be optimizing storage. This means the full-resolution files are not on the device. You might need to download the originals first. Go to Settings, then Photos, and select “Download and Keep Originals.” Wait for the download to finish before transferring.
Best Practices for Organizing Your Photo Archive
Simply dumping photos onto a drive leads to chaos. You should establish a robust organization system. This makes finding specific memories much easier later. First, create a clear folder structure on your external hard drive. Start with a main folder named “iPhone Backup.” Inside, create subfolders by year. For example, “2023” and “2024.” Within each year, create folders for specific events or months. A naming convention like “2023-12-25_Christmas” is very effective. This sorts folders chronologically automatically.
Furthermore, verify your backups. After a transfer, spot-check a few files. Open them to ensure they are not corrupted. It is also wise to have a second backup. Hard drives can fail mechanically. Consider using a cloud service as a secondary off-site backup. Or, purchase a second external drive for redundancy. The “3-2-1” backup strategy is the gold standard. Keep three copies of your data. Store them on two different types of media. Finally, keep one copy offsite.
Additionally, consider using photo management software on the external drive. Applications like Adobe Lightroom can manage libraries on external drives. This keeps your Mac’s internal drive clean. It also provides powerful editing tools. Regular maintenance is also key. Delete blurry or unwanted photos before you transfer them. This saves space and reduces clutter. A little bit of curation goes a long way. It ensures your archive remains a curated collection of your best moments, rather than a digital junk drawer.
Frequently Asked Questions
Users often have specific questions regarding this process. Here are answers to some of the most common queries.
How do I copy my entire iPhoto library to an external hard drive?
To copy the entire library, quit the Photos app first. Then, connect your external drive. Open a Finder window. Locate your “Photos Library” file. It is usually in the “Pictures” folder. Drag this file to your external hard drive. This creates a perfect clone of your library. You can open this library on another Mac by holding the Option key while opening the Photos app. Note that this requires the drive to be formatted correctly for Mac (APFS or Mac OS Extended).
Why can’t I move photos to an external hard drive on my Mac?
There are several reasons for this. The most common reason is the drive format. If the drive is NTFS, the Mac cannot write to it. You need to reformat it. Another reason could be permission settings. Check the “Get Info” window for the drive. Ensure you have “Read & Write” privileges under “Sharing & Permissions.” Also, ensure the files are not currently open or in use by another application.
How do I transfer everything from my iPhone to an external hard drive?
Transferring “everything” requires a full backup. You can use Finder to back up your iPhone. However, a standard backup file is not easily readable. It is a database used for restoration. If you want readable files (photos, contacts, notes), you need third-party software. Apps like iMazing or AnyTrans allow full data export. They let you browse the iPhone content and export files directly to an external drive. This is the best way to extract all user data in a readable format.
Conclusion
Managing digital memories does not have to be a struggle. With the right tools and knowledge, the process is simple. You have learned how to transfer photos from iphone to external hard drive using mac using various methods. Whether you prefer the Photos app, Image Capture, or Finder, the power is in your hands. You can now free up valuable space on your iPhone. You can also secure your memories on a physical drive. Remember to check your drive formats and organize your files well. Regular backups are the key to digital peace of mind. By following this guide, you ensure your photos remain safe for years to come. Start your backup today and never worry about storage limits again.