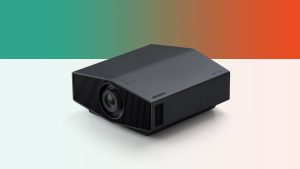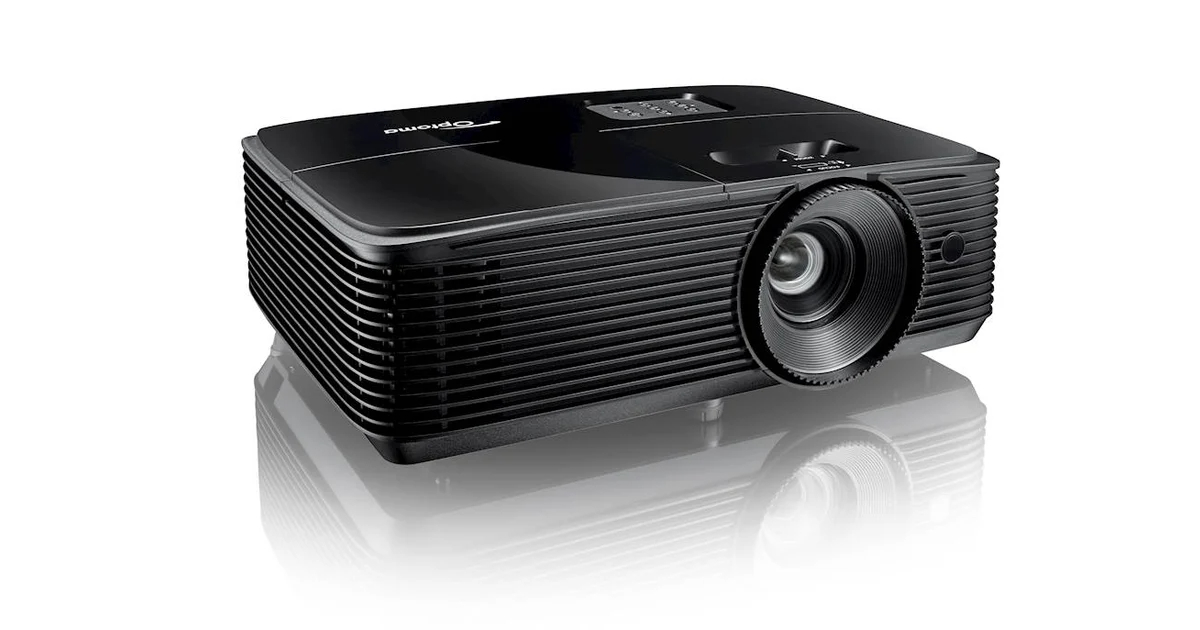
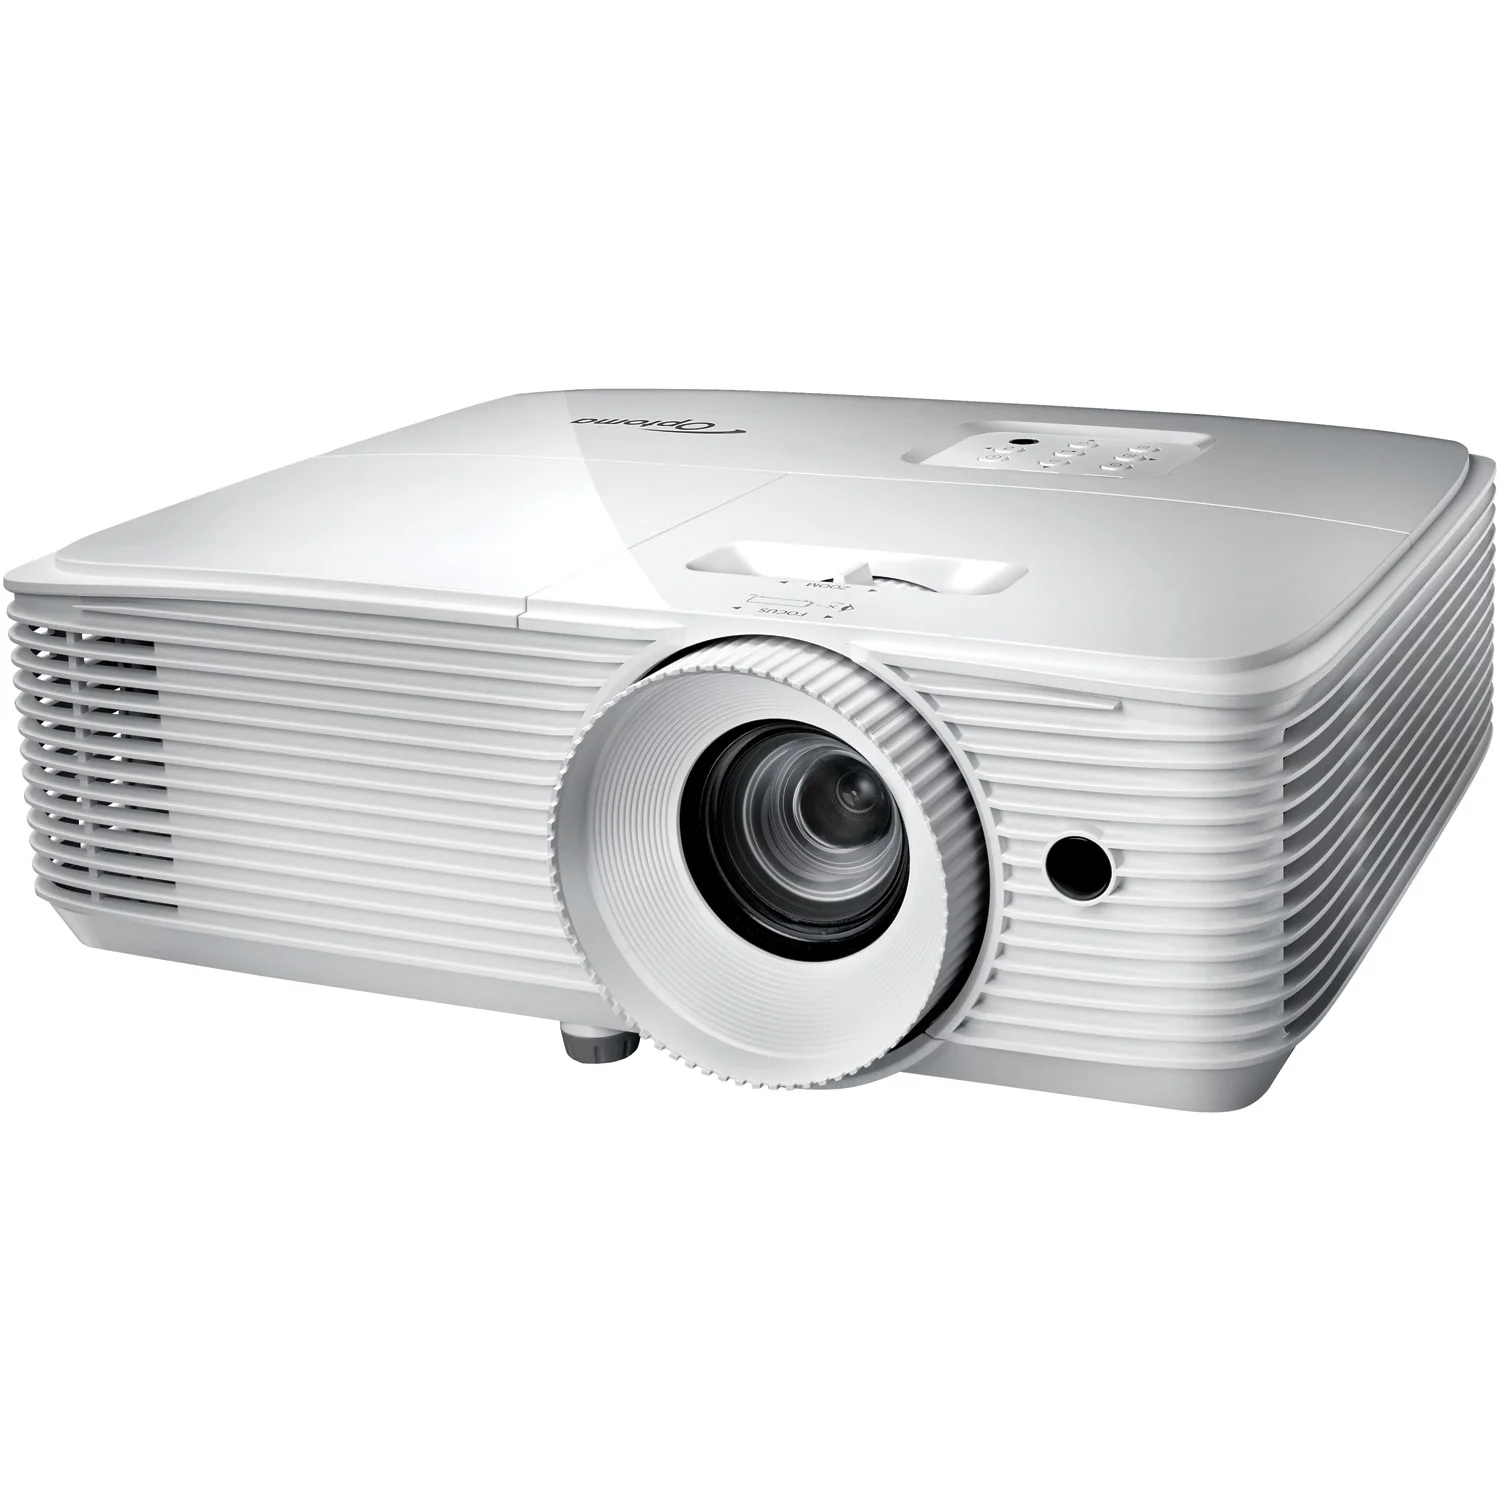
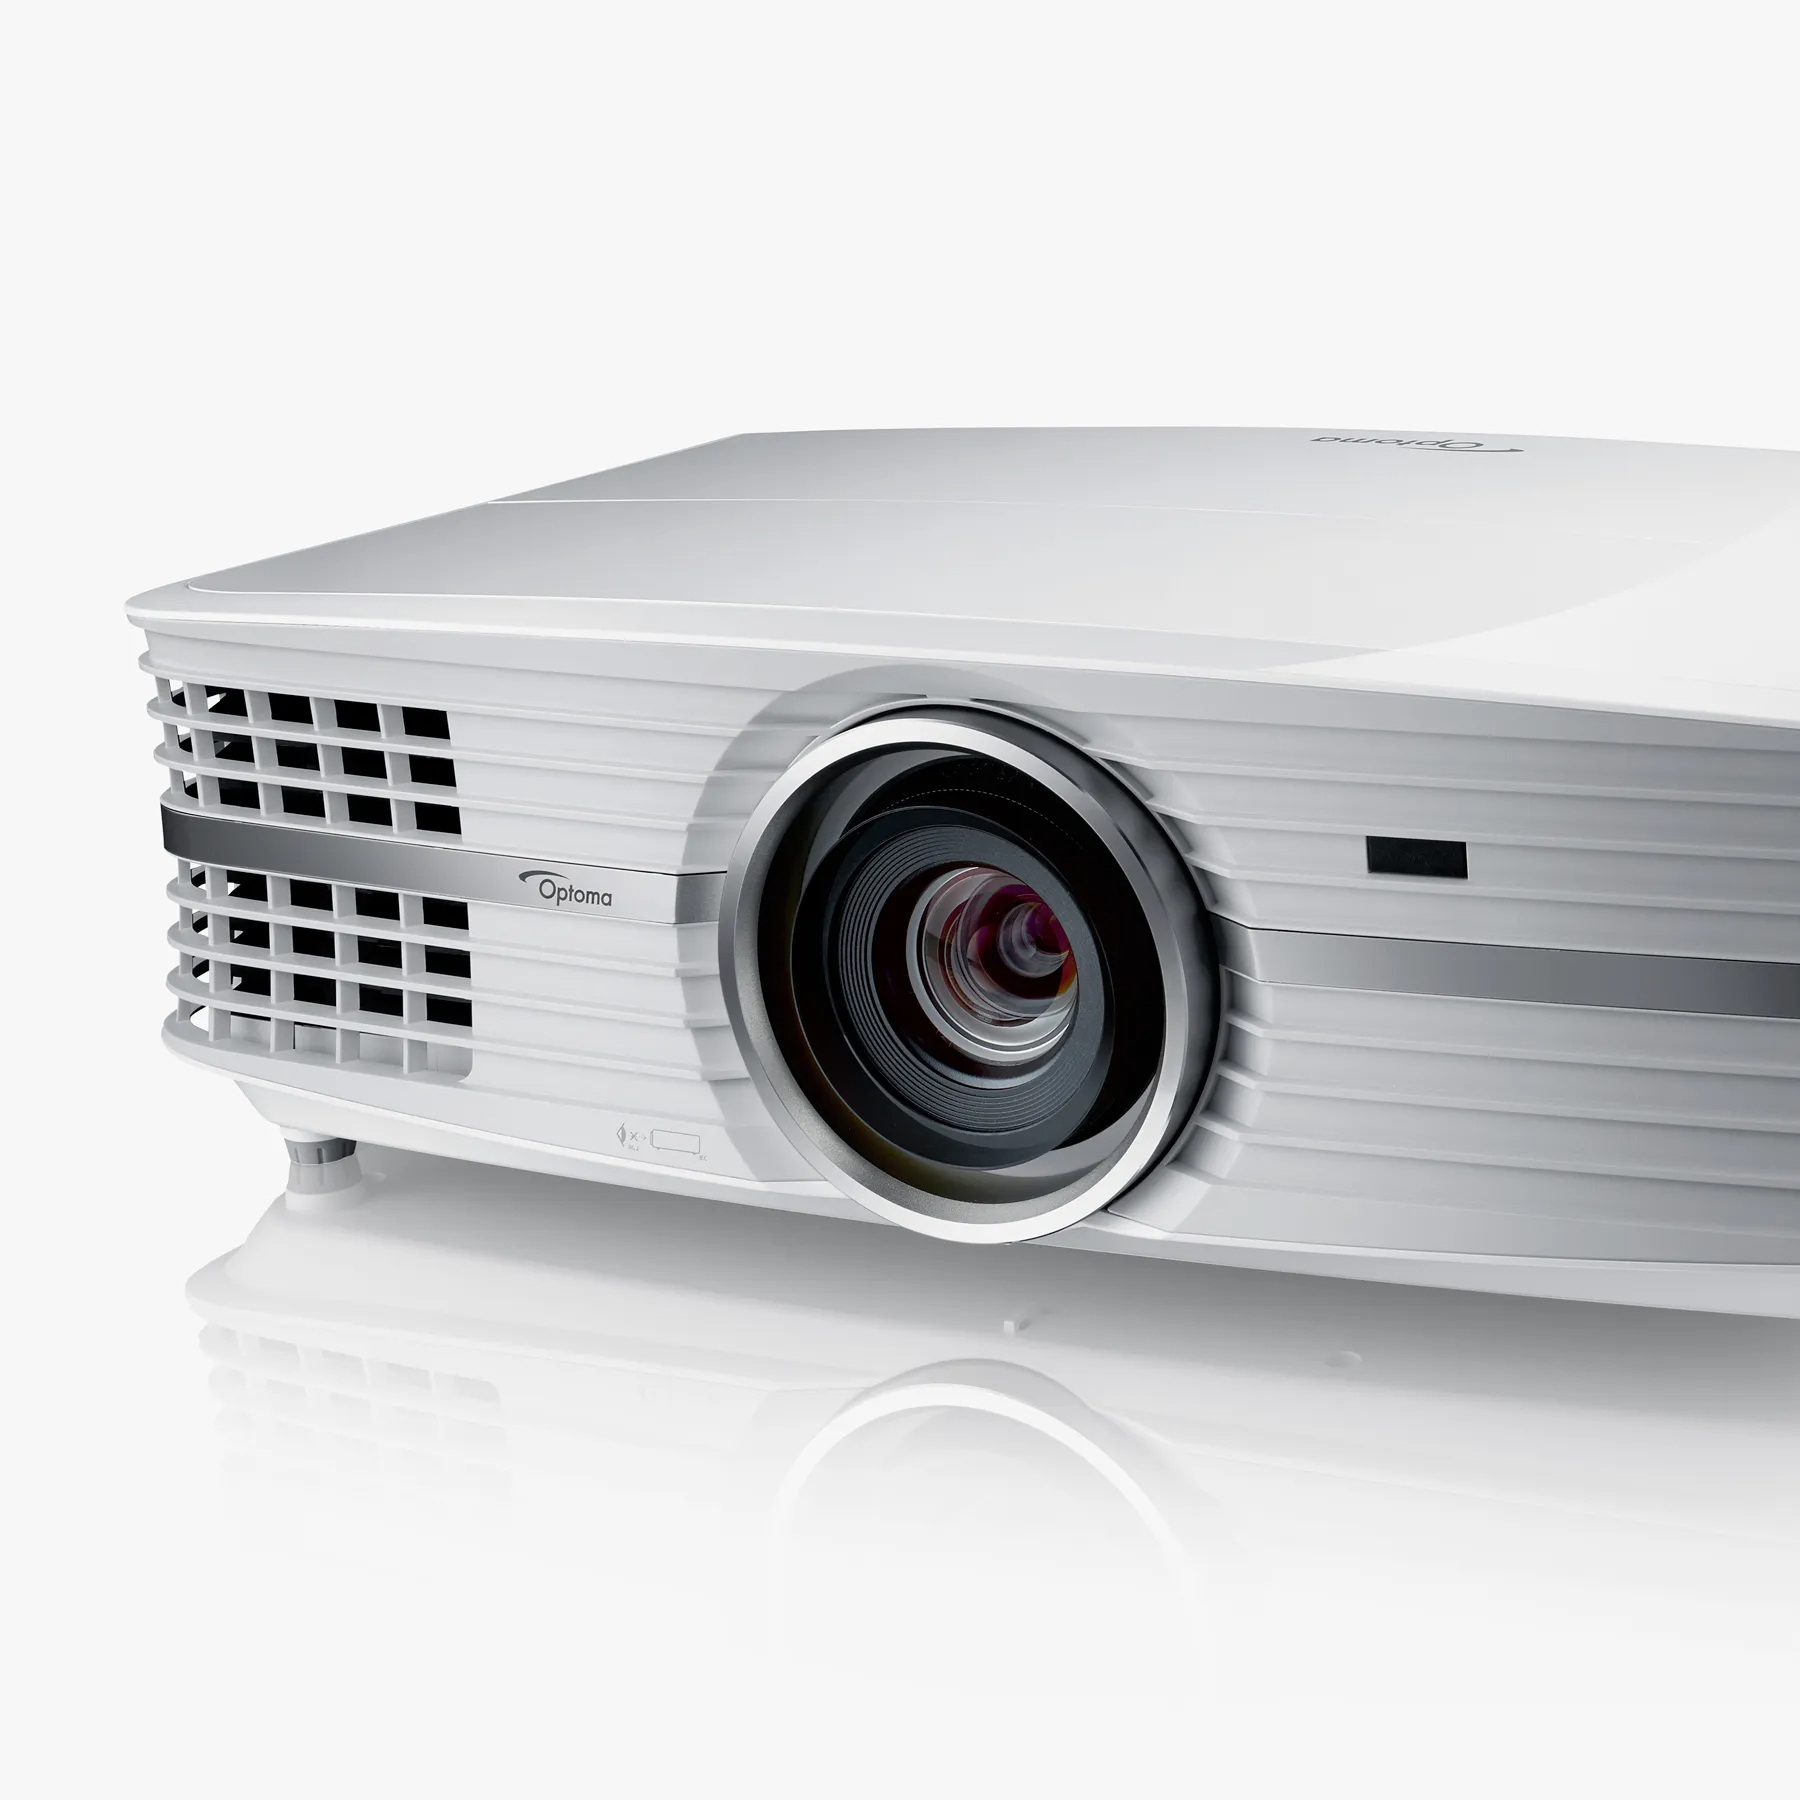
Installing an Optoma projector is a pivotal step toward achieving a superior visual display. Whether for a home theater, a conference room, or a classroom, proper installation is crucial. The Optoma projector manual serves as your step-by-step guide to ensure that the setup process goes smoothly and your device functions at its best. Utilizing this manual effectively can significantly enhance the quality of your projection and provide a hassle-free viewing experience.
Pre-Installation Planning
Selecting the Ideal Location
The first step in installing your Optoma projector is to choose the right location. The manual contains detailed diagrams and measurements that help you determine the optimal distance and angle for your projector, which affect the screen size and image quality. Ensure that the location you choose aligns with these guidelines to avoid image distortion and to get the best possible display.
Preparing the Installation Space
Once you’ve pinpointed the spot for your projector, prepare the physical space accordingly. This means ensuring that the surface or mount is stable and level, and that there’s sufficient clearance for air intake and exhaust to prevent overheating. Following the manual’s instructions on space preparation can prevent many common issues that affect projector performance.
Setting Up Your Optoma Projector
Assembling Necessary Parts
With your space ready, it’s time to assemble any separate components of the projector. The manual provides specific instructions for any parts that need to be carefully connected, such as lenses or base units. Pay close attention to these directions to make sure that everything is assembled correctly, ensuring stability and proper function.
Connections and Calibrations
Connecting your Optoma projector to power, video, and audio sources is the next step. The manual spells out which cables to use and where to plug them in. After connections are secure, it will also guide you through initial calibrations for image alignment and focus. These adjustments are critical for achieving the clearest picture possible.
Fine-Tuning for Optimal Performance
Adjusting to Room Conditions
To get the best performance out of your projector, you’ll need to fine-tune settings according to the specifics of your room. The manual details how to adjust brightness, contrast, and color settings to compensate for lighting conditions and surface colors. It also explains how to use keystone correction and zoom functions for a perfectly proportioned image.
Testing and Tweaking
After making the initial adjustments, it’s beneficial to test your setup with different types of content. This step can reveal further adjustments that will optimize the projector for a variety of uses, from high-definition movies to text-heavy presentations. Refer back to the manual to tweak settings; sometimes minor changes can make a significant difference in image quality.
Post-Installation Best Practices
Routine Maintenance Guidance
The manual isn’t just for installation—it also provides advice for maintaining your projector. Regular cleaning, firmware updates, and bulb management are all covered. Following these guidelines can extend the life of your projector and maintain its performance over time.
Troubleshooting Common Issues
Despite the best installations, problems can arise. The manual includes a troubleshooting section that helps diagnose common issues, such as connectivity problems, image distortion, or unexpected system behavior. Before you call for service, consult this section—it could provide an easy solution.
Maximizing Projector Positioning
Understanding Throw Ratios and Distance
Refer to the manual to learn about your specific Optoma projector’s throw ratio. This value is crucial as it defines the relationship between projector distance and screen size. Align the projector’s lens with the center of the screen and adjust its location until you achieve the desired image size. Pay attention to vertical and horizontal offset specifications, which can impact how the image aligns with your screen.
Securing and Aligning the Projector
Once you’ve determined the perfect spot based on the throw ratio, mount your projector securely. Whether it’s ceiling-mounted or placed on a shelf, ensure it’s level and stable. Follow the manual’s instructions on how to use the projector’s feet or mounting adjustments to align the image with the screen. Use built-in test patterns available in the menu settings to confirm the image alignment is correct.
Connecting to Content Sources
Video and Audio Integration
The manual provides detailed instructions on connecting your projector to various content sources, like media players, computers, or speakers. Follow these instructions to ensure that cables are properly connected and settings are adjusted for the correct input source. Remember to check compatibility; for instance, if you’re connecting via HDMI, ensure your cable supports the version required for your content’s resolution.
Network and Remote Operation Setups
If your Optoma model supports networking, use the manual’s guidelines to connect it to your network for easy control and content sharing. Set up remote operation if your projector is compatible with control systems like Crestron, so you can manage it from a distance. Detailed step-by-step networking instructions will help you integrate your projector into your existing network setup.
Customization and Control
Personalized Viewing Modes
For the best viewing experience, customize the picture mode settings as per the manual. Optoma projectors offer different modes for sports, cinema, gaming, etc., each tailored to enhance the viewing experience for that specific content. Experiment with these modes to find the one that fits your preferences and room conditions.
The manual not only introduces you to various settings but also teaches you how to navigate the projector’s on-screen menu. Familiarize yourself with the menu’s structure to quickly access and adjust settings such as brightness, contrast, sharpness, and color calibration to suit various ambient light conditions or content types.
Ensuring Projector Care
Regular Cleaning Procedures
Dust accumulation can degrade image quality and damage internal components. The manual provides recommendations for frequency and methods of cleaning the projector’s filters, lens, and housing. Stick to the suggested maintenance schedule to keep your Optoma projector running smoothly.
Bulb Life and Replacement
Your Optoma projector’s bulb has a limited lifespan. The manual gives clear instructions on how to monitor bulb life, recognize when it’s time for replacement, and safely change the bulb. By following the manual’s guidance, you can maximize the bulb’s life and ensure that replacements are done efficiently and correctly.
Using the Optoma projector manual is the key to a perfect installation. It’s a treasure trove of diagrams, instructions, and tips designed to take the guesswork out of the installation process and set you on the path toward an unparalleled viewing experience. By taking the manual’s advice for pre-installation planning, assembly, calibration, and maintenance, you can ensure your projector works flawlessly from day one and keeps performing well into the future. Remember, the manual is your most trusted resource—so keep it handy and refer to it often for a seamless and trouble-free projector setup.