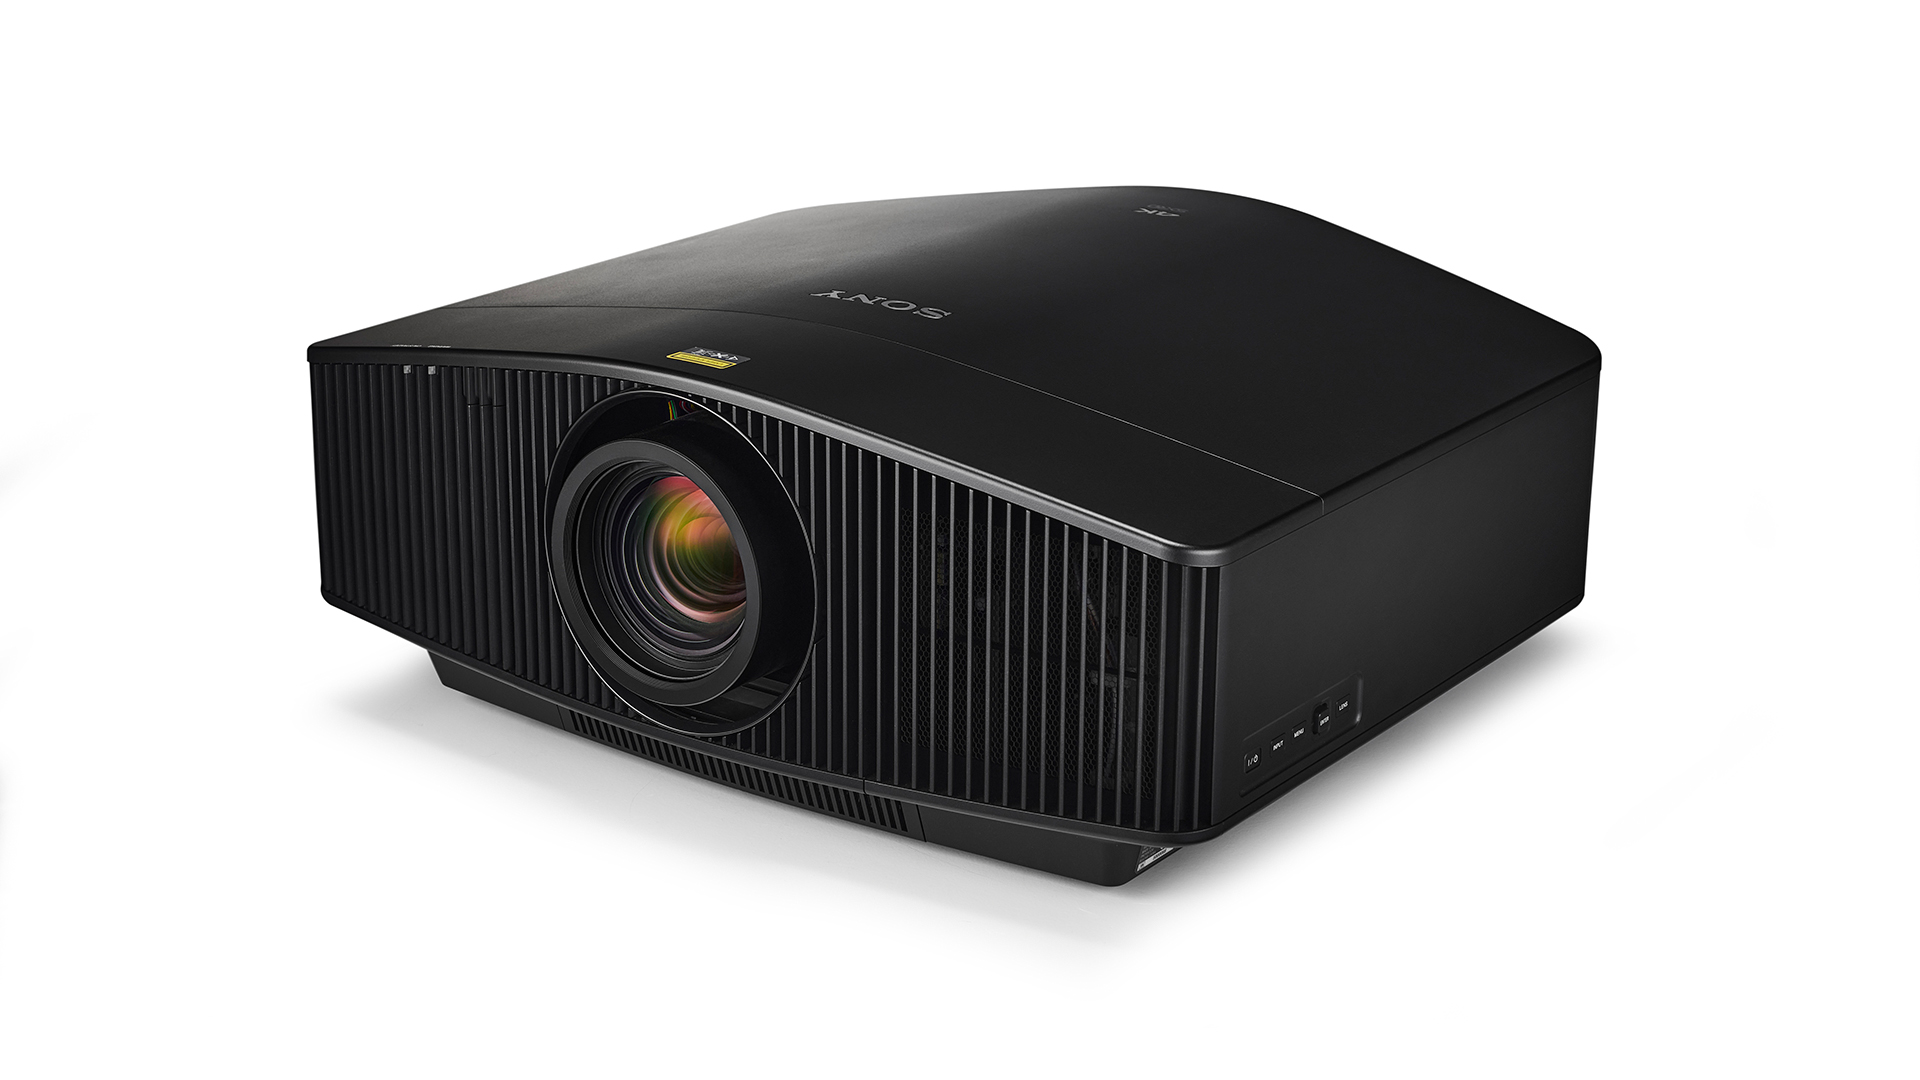
Sony projector TVs are renowned for their vivid picture quality and durable lamp life, but like all technology, they may occasionally run into issues. Whether it’s a dimming picture, unexpected lamp failure, or color inconsistencies, knowing how to troubleshoot these problems can save you time and money. This practical guide will cover how to address and resolve some of the most common issues you might encounter with Sony projector TV lamps, ensuring that your viewing experience remains bright and beautiful.
Identifying and Fixing Dim Picture Problems
Checking Lamp Life and Brightness Settings
If your Sony projector is displaying a dimmer picture than usual, the first step is to check the lamp life. Most Sony projectors have an easily accessible lamp life indicator within the menu settings. If the lamp is reaching the end of its life, replacing it might be necessary. Additionally, improper brightness settings can cause a dull picture. Adjust the brightness and contrast settings to see if that improves the image before considering a lamp replacement.
Understanding Eco Modes and Their Impact
Sony projectors often come with Eco settings that conserve the lamp’s life by dimming the brightness. While these modes extend the lifespan of the lamp, they can also lead to a dimmer picture than you might prefer. Check if your projector is operating in Eco mode and, if necessary, switch to a normal or bright mode for a more luminous picture.
Solving Unexpected Lamp Failures
Assessing for Power Supply Issues
An unexpected lamp failure can also stem from power supply issues. Ensure that your projector is connected to a stable and adequate power source. Power surges or frequent outages can damage the lamp or affect the projector’s ability to maintain the lamp’s integrity. Using a surge protector can guard against such electrical inconsistencies.
Inspecting Lamp Assembly and Components
If power supply issues are not the culprit, inspect the lamp assembly. A loose connection or incorrectly installed lamp can cause failures. Ensure the lamp is seated correctly in its holder and that the lamp cover is properly secured. A projector will often refuse to start if it detects that the lamp assembly is not correctly installed or if the cover is open.
Dealing with Color Inconsistencies and Discoloration
Calibrating Color Settings
Color inconsistencies can be a result of misconfigured settings. Sony projectors typically offer advanced color calibration options. Adjust the tint, temperature, and gamma settings to correct color issues. These settings can fine-tune the hues and saturation levels, restoring natural color reproduction.
Evaluating Lamp Condition
Aging lamps can sometimes cause color issues. If you notice that colors are not displaying as they should and calibration doesn’t fix the problem, it may be time for a new lamp. As projector lamps age, the quality of light can deteriorate, which can lead to yellowing or color shifting within the projected image.
Reducing and Preventing Image Flickering
Updating Projector Firmware
Image flickering can be distracting and indicate a deeper issue. Sometimes the problem can be resolved with a simple firmware update. Manufacturers like Sony frequently release updates that can improve the performance of their projectors. Make sure your projector has the latest software updates installed.
Inspecting Lamp Installation and Function
If flickering persists post-update, examine the lamp to ensure it’s not loose or damaged. Reinstall the lamp, making sure everything is connected properly and securely. Inspect for signs of damage on the lamp itself, as flickering may be the result of a lamp nearing the end of its useful life and in need of replacement.
Enhancing Longevity of Sony Projector Lamps
Regular Maintenance for Extended Lamp Life
To avoid common issues and extend the life of your Sony projector lamp, regular maintenance is essential. Regularly clean your projector’s air filters to prevent overheating, which can significantly reduce the lifespan of the lamp. Dust and debris can clog these filters, causing the lamp to work harder and potentially overheat. Consult your projector’s manual for guidance on how to safely clean or replace the filters. Additionally, allowing the projector to cool down properly after use by utilizing its fan or leaving it in standby mode for a few minutes can further extend lamp life by preventing sudden temperature changes that could affect the lamp’s integrity.
Utilizing Original Sony Replacement Lamps
When the time comes to replace your projector lamp, opt for original Sony replacement lamps. While third-party replacements might be cheaper, they often don’t match the quality and performance of genuine Sony lamps and can lead to compatibility issues or reduced picture quality. Using original parts ensures that your projector operates at its best, maintaining the high image quality and reliability Sony projectors are known for.
Troubleshooting Connectivity Issues with External Devices
Ensuring Compatible Connections
Occasionally, you might face issues when connecting external devices to your Sony projector. Before assuming there’s a fault with the projector lamp, ensure that the device is correctly connected. HDMI handshaking issues are common and can usually be resolved by making sure the cable is firmly connected or trying a different cable. Also, ensure the external device’s output settings are compatible with the projector’s resolution capabilities. Incompatibilities here can result in a blank screen, which might be misinterpreted as a lamp issue.
Updating Device and Projector Firmware
Keeping all connected devices, including your projector, updated with the latest firmware is another critical step in troubleshooting connectivity issues. Manufacturers often release updates to address compatibility issues and improve overall performance. A simple firmware update on either the projector or the external device might resolve any connectivity problems you are experiencing, ensuring seamless integration of all your entertainment or presentation components.
Optimizing the Viewing Environment for Maximum Enjoyment
Adjusting Room Lighting and Projector Placement
For the best viewing experience with your Sony projector, pay close attention to the ambient room lighting and projector placement. Excessive ambient light can wash out the projected image, making even a fully functional lamp seem inadequate. Blackout curtains or shades can greatly enhance your viewing experience by controlling light levels. Positioning the projector at the optimal angle and distance from the screen, as recommended by Sony, ensures that you get the sharpest image and the most from your projector’s lamp brightness.
Creating an Immersive Audio-Visual Setup
Pairing your Sony projector with a quality audio system can elevate your overall entertainment experience. While troubleshooting and optimizing your projector lamp plays a crucial role in achieving clear and vibrant visuals, integrating a sound system that matches the projection quality can create an immersive viewing environment. Consider adding a surround sound system or soundbar that complements your projector’s capabilities, ensuring the audio quality lives up to the stunning visuals provided by your Sony projector.
Maintaining the optimal performance of your Sony projector TV lamp requires both preventative measures and troubleshooting when issues arise. By keeping an eye on the lamp life, staying abreast of setting configurations, understanding the projector’s Eco modes, and regularly performing firmware updates, you can ensure lasting brightness and color quality. When issues do occur, knowing how to efficiently identify and resolve them will minimize downtime and keep your Sony projector running smoothly for all your home entertainment needs. Follow these straightforward troubleshooting tips to enjoy consistently high-quality visuals from your Sony projector.
