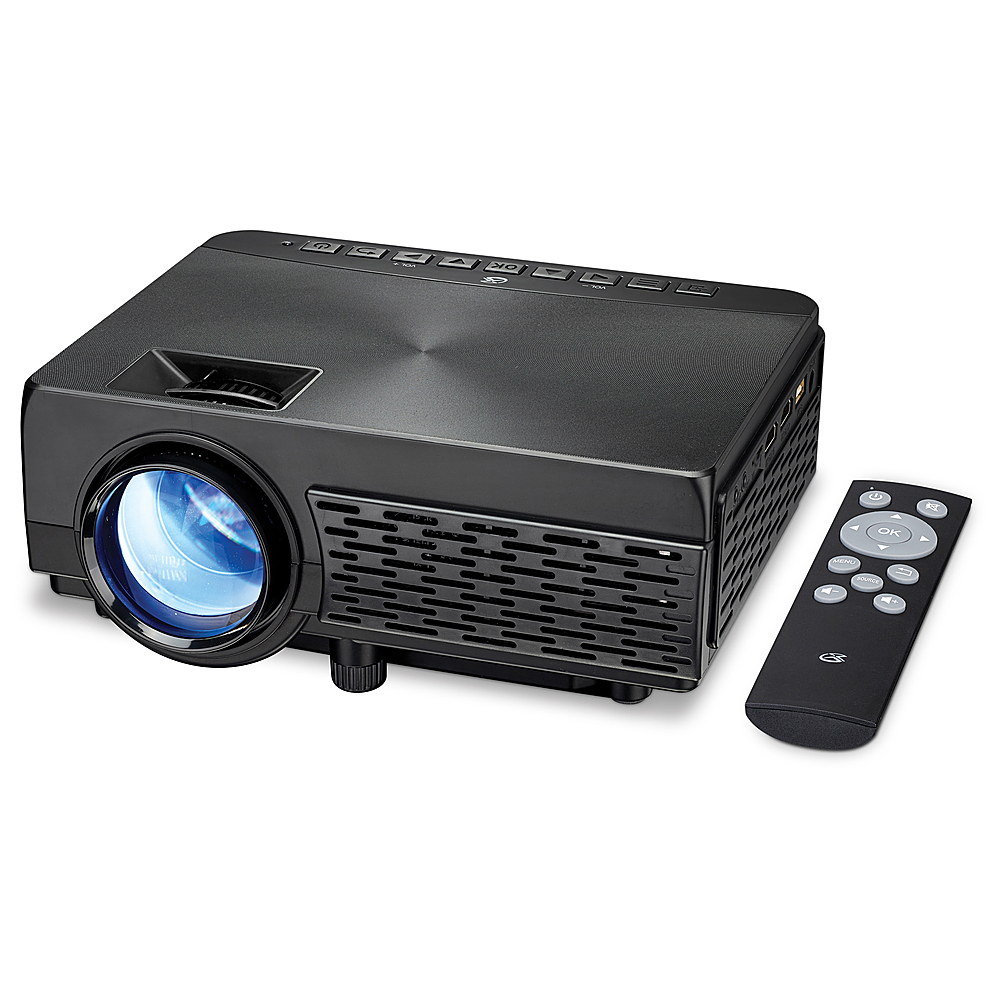
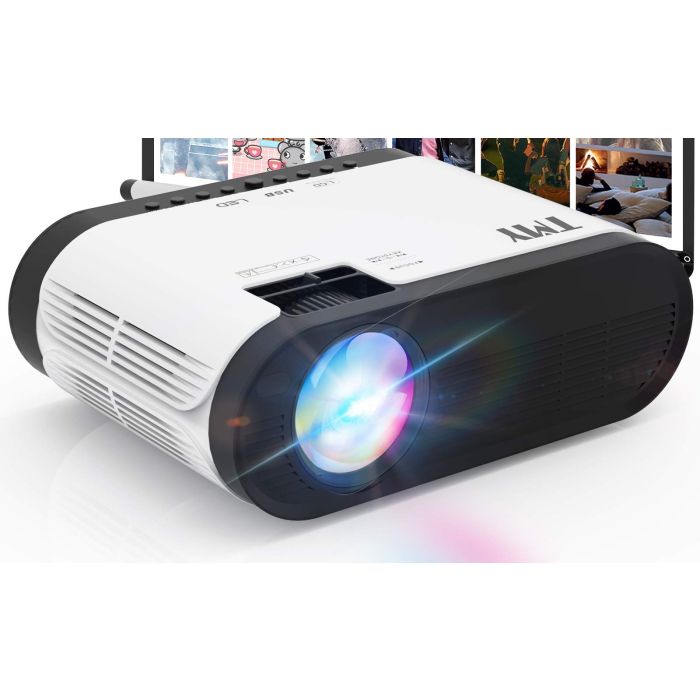
Owning a TMY projector can transform your living room into a mini theater, but to get the best picture quality, you need to set it up correctly. Whether you’re watching movies, playing games, or giving presentations, following the right steps can make all the difference. Here, we’ll share practical tips to help you get the best picture quality from your TMY projector.
Proper Placement and Setup
Positioning your projector correctly is crucial for optimal image quality. This step sets the foundation for everything else.
Optimal Distance and Height
The distance between the projector and the screen affects image size and clarity. Refer to the TMY projector’s manual to find the recommended distance for the best image quality. Generally, placing the projector too far can result in a blurry picture, while placing it too close can cause image distortion.
Height is also essential. The projector should be at a level parallel to the center of the screen. Use a tripod or a ceiling mount for stable placement. Adjust the height so the lens is aligned with the screen’s center to avoid keystone distortion, which can skew the image.
Keystone and Focus Adjustments
If the projector is not perfectly aligned with the screen, you may see a trapezoidal image. Use the keystone correction feature to adjust the image and make it rectangular. Most TMY projectors offer both horizontal and vertical keystone corrections.
After adjusting the keystone, fine-tune the focus by turning the focus ring on the projector’s lens. A clear focus can significantly enhance the sharpness and overall quality of the image, making every detail stand out.
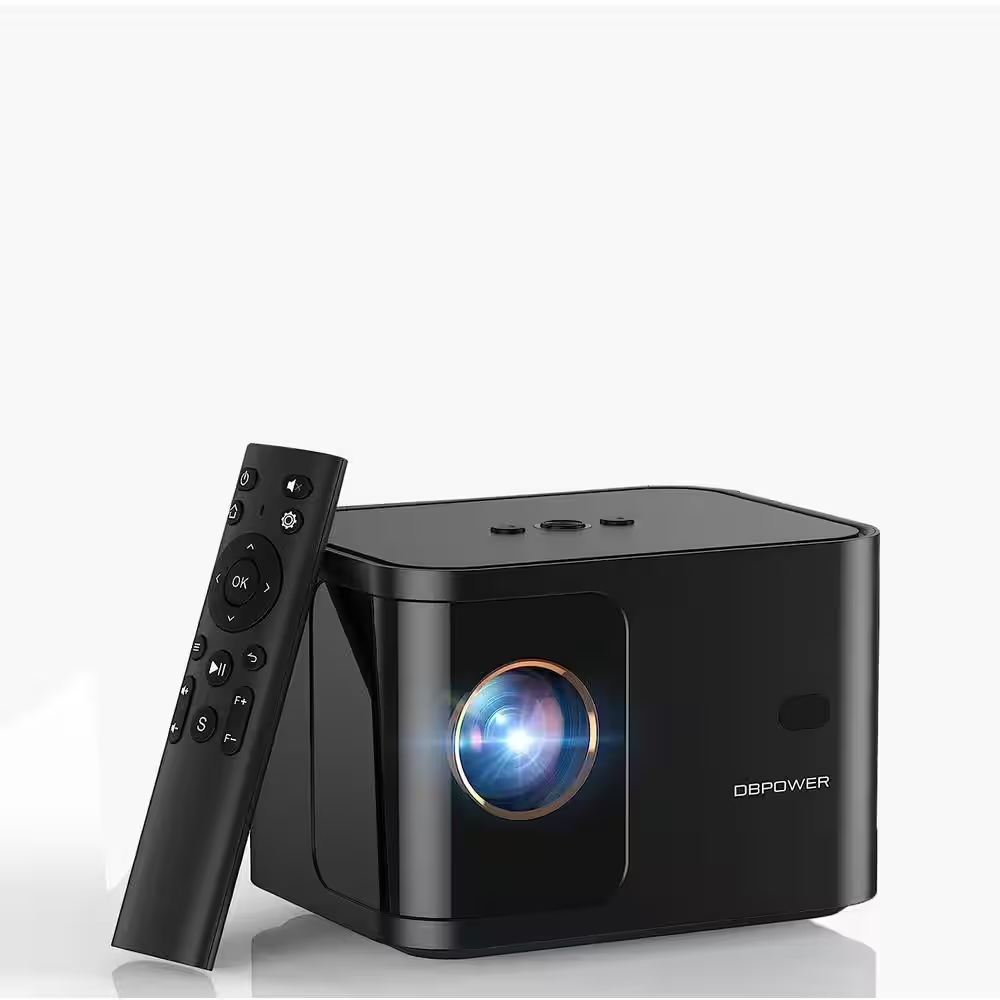
Screen Quality and Environment
The quality of the surface on which you project the image and the environment plays a significant role in the visual experience.
Choosing the Right Screen
While you can project onto a plain white wall, a dedicated projector screen offers better results. Look for a high-quality screen with good reflectivity and color balance. A matte white screen is generally a good choice for most environments, providing a uniform surface that reduces glare.
Portable screens are also an option if you need flexibility. Ensure the screen is wrinkle-free and clean; even small imperfections can affect picture quality. Setting up the screen correctly will help maintain a crisp and clear image.
Controlling Ambient Light
Ambient light can wash out the projected image, reducing its quality. Try to use the projector in a dark room for the best results. If complete darkness isn’t possible, use blackout curtains or blinds to minimize light intrusion.
Consider adding ambient light-rejecting (ALR) screens if you frequently use the projector in environments with significant light. These screens are designed to enhance contrast and brightness by deflecting ambient light away from the viewer’s eyes.
Calibration and Settings Adjustments
Fine-tuning your projector’s settings is essential for achieving the best picture quality. Calibration can make a significant difference in how your content looks.
Brightness and Contrast
Start by adjusting the brightness. Set it high enough to see details in dark scenes but not so high that it makes the image look washed out. Contrast should highlight those details by making the blacks blacker and the whites whiter.
Most TMY projector come with preset modes like Movie, Sports, and Vivid. Start with these modes and tweak the settings to suit your preferences. Use a calibration test pattern if available to fine-tune these settings precisely.
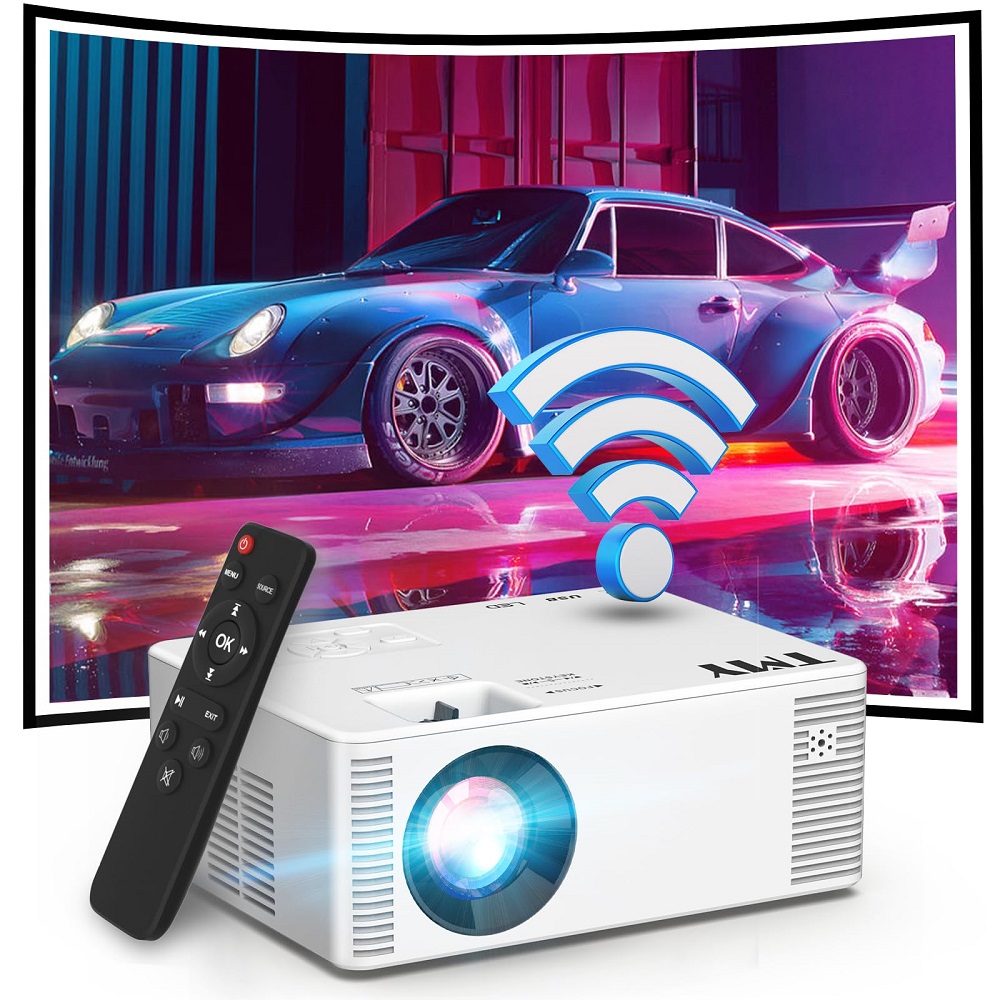
Color and Sharpness
Adjust the color settings to ensure the hues are natural and vibrant. Avoid over-saturating the colors, which can make the image look unrealistic. Most projectors offer color temperature settings; choose a neutral or slightly warm temperature for the most accurate colors.
Sharpness settings enhance the clarity of edges and fine details. However, too much sharpness can add unwanted noise to the image. Adjust this setting gradually until the picture looks clear without introducing distortions.
Connection Quality
The type of connection you use can also impact the picture quality. Ensuring a high-quality connection will help maintain the integrity of the signal.
HDMI vs. VGA
For the best picture quality, use an HDMI connection. HDMI supports higher resolutions and provides a cleaner signal than older connections like VGA. Ensure your HDMI cable is of good quality; a cheap, poorly-made cable can degrade signal quality and affect the image.
If your video source or projector lacks an HDMI port, VGA can be a fallback option. However, remember that VGA does not carry audio signals, so you’ll need a separate audio connection.
Cable Management
Keep your cables organized and avoid running them near power lines, which can introduce interference. Use cable clips or ties to keep them secure and untangled. A well-organized setup not only looks better but can also prevent connection issues and signal degradation.
Regularly check and replace worn-out cables. Over time, connectors can become loose or corroded, affecting the quality of the transmitted signal. Keeping your connections in good condition ensures consistent performance.
Enhancing Audio for Better Experience
While visual quality is crucial, good audio can significantly enhance your overall viewing experience.
External Speakers
Built-in projector speakers often lack the depth and quality needed for an immersive experience. Investing in a good set of external speakers can make a significant difference. Bluetooth speakers, soundbars, or a full surround-sound system are all good options.
Place the speakers strategically for optimal sound. For example, having a soundbar directly below the screen can provide a more direct and clear audio experience, making your setup much more enjoyable.
Audio Settings
Calibrate your audio settings to match your viewing environment. Adjust the volume levels, balance, and equalizer settings to ensure the sound complements the picture quality. Many projectors offer audio output settings to match different types of external speakers, so make sure to configure these correctly.
Ensure the audio syncs with the video. Audio delays can ruin the viewing experience. Some projectors and external audio systems offer lip-sync adjustments to correct any discrepancies.
Regular Maintenance
Regular maintenance can keep your projector running smoothly and ensure the best picture quality over time.
Cleaning the Lens
Dust and fingerprints on the lens can degrade picture quality. Clean the lens regularly using a microfiber cloth and lens cleaner. Avoid abrasive materials and harsh chemicals that can scratch or damage the lens.
Ensure the projector is turned off and cooled down before cleaning the lens. This prevents any potential damage and ensures you can see and remove all dust particles and fingerprints.
Software Updates
TMY often releases firmware updates to improve performance and fix bugs. Check the manufacturer’s website regularly for updates. Updating your projector’s firmware can provide new features and optimizations that enhance picture quality.
Follow the update instructions carefully to avoid any disruptions during the installation process. Keeping your projector’s software up to date ensures it operates at its best.
Exploring Advanced Features
Maximize your projector’s potential by exploring advanced features that can further enhance picture quality.
4K and HDR Compatibility
Many modern TMY projector support 4K resolution and HDR content. If your model does, make sure to use sources that offer these formats. 4K content provides a higher resolution, while HDR enhances the contrast and color range, offering a more vivid and lifelike picture.
Check your projector’s settings to ensure 4K and HDR are enabled. Some projectors need manual activation for these features. Proper content and the right settings can elevate your viewing experience to new heights.
Motion Smoothing
Motion smoothing can be helpful for fast-paced content like sports and action movies. This feature reduces motion blur, making fast movements appear more fluid. However, it’s not always suitable for all content types, such as regular TV shows or movies where it can introduce an unnatural effect.
Experiment with motion smoothing settings to find what works best for your viewing preferences. It can often be adjusted or turned off depending on the content type you’re watching.
Conclusion
Achieving the best picture quality from your TMY projector involves careful setup, regular maintenance, and optimal settings. From proper placement and screen choice to fine-tuning brightness, contrast, and color settings, each step plays a crucial role. By paying attention to these details and exploring advanced features, you can transform your viewing experience. Invest in quality accessories, keep your projector in top condition, and enjoy the immersive, high-quality visuals your TMY projector can deliver. Whether for movies, games, or presentations, these tips ensure you get the most out of your projector, making every session a visual treat.
