Wall projectors have become popular among movie enthusiasts, gamers, and business professionals looking to enhance their viewing experiences. When set up correctly, a wall projector can transform any room into a mini home theater or an effective presentation space. However, achieving the best picture quality, sound, and comfort requires more than just placing a projector on a shelf. This guide will cover essential tips for setting up your wall projector to ensure optimal viewing experiences, no matter the occasion.
Understanding Your Wall Projector
Types of Wall Projectors
Before diving into the setup, it’s essential to understand the types of wall projectors available. There are various models tailored to different needs and preferences, including LCD, DLP, and LCoS projectors. Each type has its benefits and drawbacks.
- LCD Projectors: These are known for producing bright and vibrant colors, making them a great choice for well-lit spaces. They use liquid crystal displays to project images, resulting in sharp visuals.
- DLP Projectors: Digital light processing projectors produce high-contrast images, thanks to the use of micro mirrors. DLP projectors are compact and less prone to color fading over time.
- LCoS Projectors: Liquid crystal on silicon projectors blend the benefits of both LCD and DLP technologies. They provide excellent color accuracy and smooth imaging but may be more costly.
Familiarizing yourself with your projector type helps you understand its unique features and setup requirements, laying a solid foundation for achieving the best viewing performance.
Key Features to Consider
When setting up your projector, consider its resolution, brightness, and throw distance.
- Resolution refers to the clarity of the image, commonly measured in pixels. Higher resolutions, such as 1080p or 4K, produce sharper images and better detail.
- Brightness is measured in lumens and determines how well the projector can perform in various lighting conditions. A projector with a higher lumen count is necessary for rooms with significant ambient light.
- Throw distance refers to the distance between the projector and the wall or screen. Different projectors have distinct throw ratios, affecting how large the image will appear based on the distance.
Keeping these features in mind will help you choose the right settings and placement for your wall projector, optimizing your viewing experience.
Choosing the Right Location
Room Selection
The room where you decide to set up your projector plays a significant role in achieving optimal results. Consider choosing a space with minimal ambient light, such as a basement or a media room. Darker rooms enhance the projector’s brightness and contrast, resulting in better image quality.
Also, think about the overall layout of the room. A dedicated media room works best for presentaions or movie nights. If the room is multifunctional, consider how the projector will fit in with other activities, such as playing video games or giving presentations.
Wall and Screen Considerations
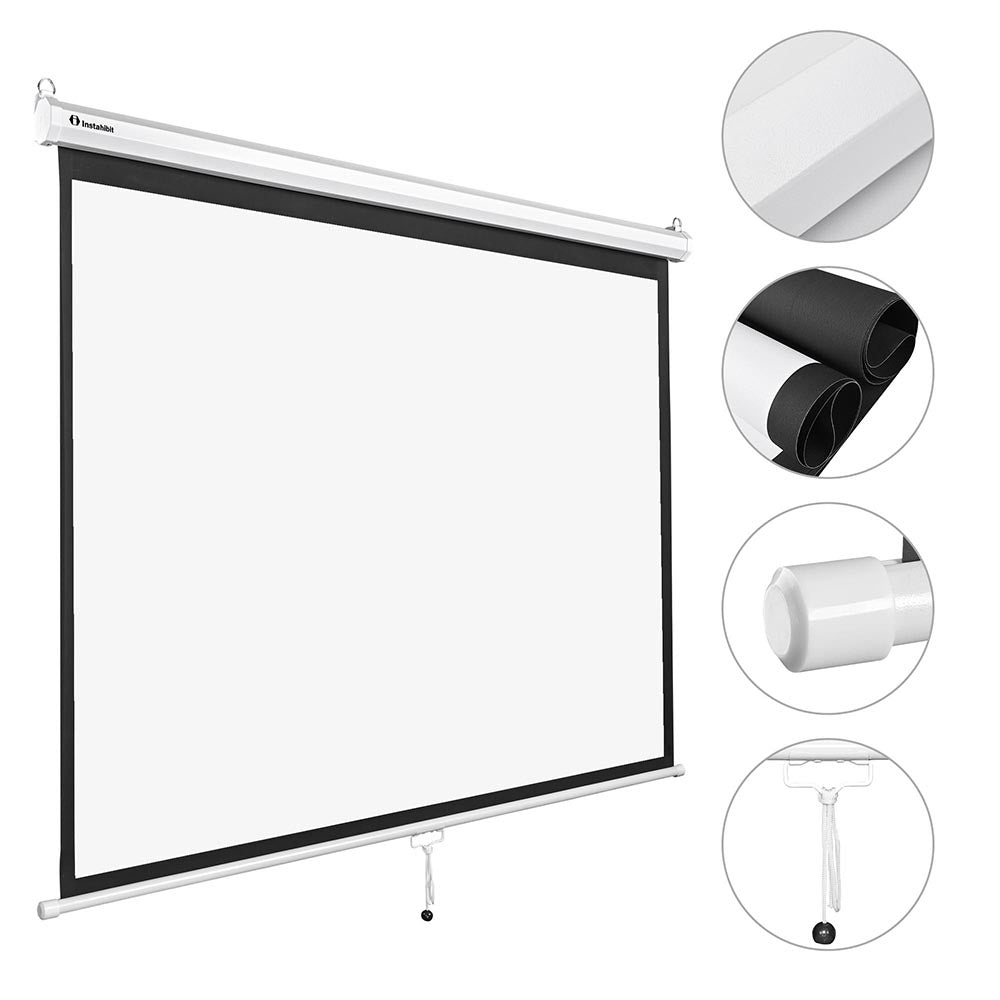
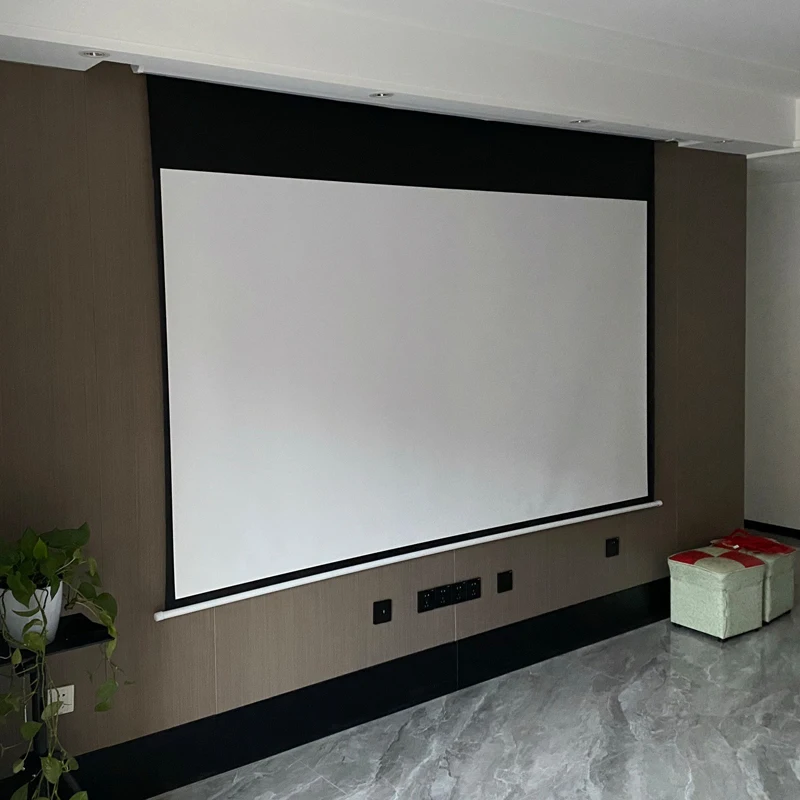
For a wall-mounted projector, the surface of the wall should be considered. The best option is a smooth, white wall or a specially designed projection screen. If using a wall, avoid textured surfaces, as they can produce unwelcome distortions and affect picture quality.
If possible, invest in a high-quality projection screen. These are designed specifically for projecting images and can significantly enhance brightness, contrast, and color accuracy. A dedicated screen can come with different reflection gains, which further enhance the viewing experience.
Mounting the Projector Properly
Ceiling vs. Table Mounting
One of the critical decisions to make during setup is how to position your projector. You can choose between ceiling mounting or table mounting.
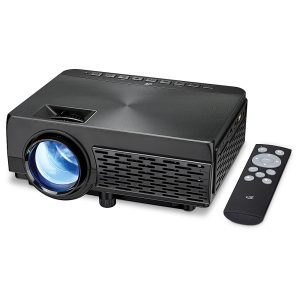
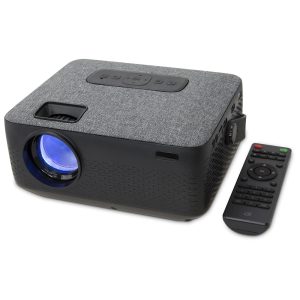
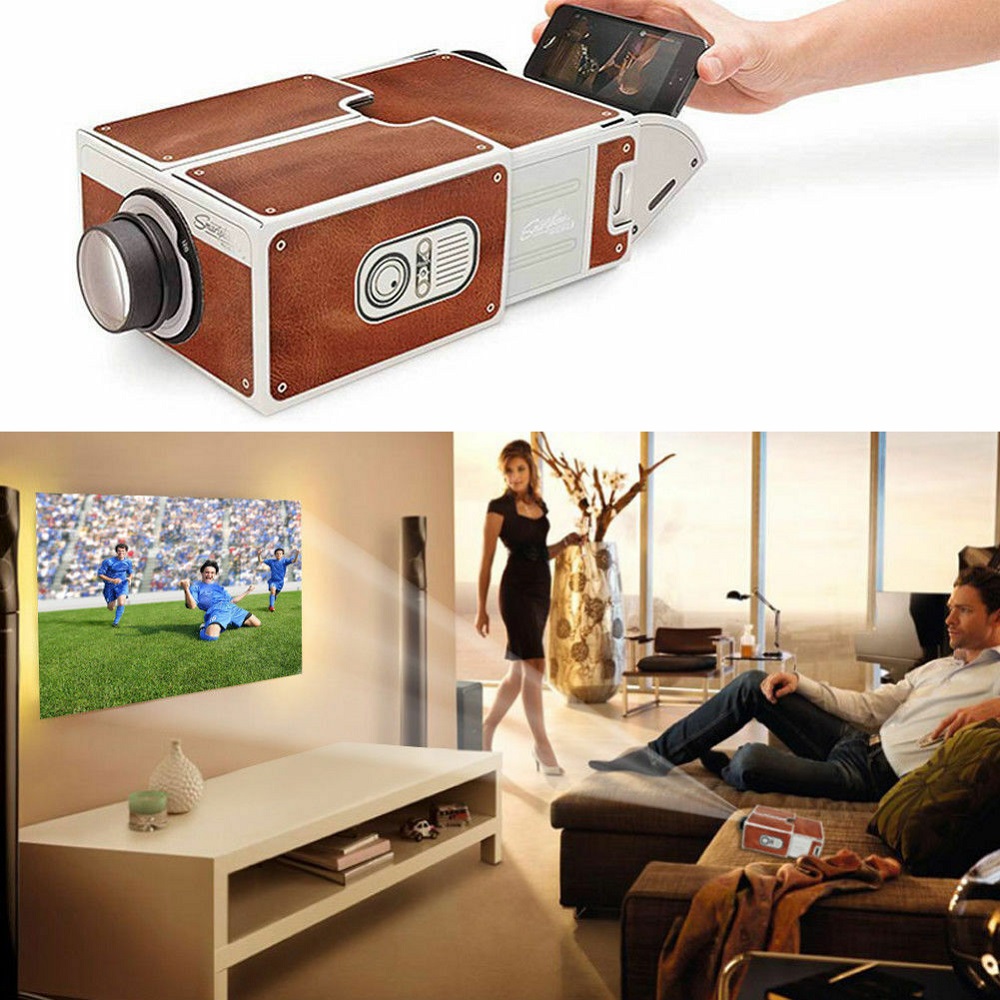
- Ceiling Mounting: This option frees up valuable floor space and can provide an unobstructed view of the screen. When mounting the projector to the ceiling, ensure that it is securely fastened and positioned at the right distance. This method is ideal for fixed setups in dedicated media rooms.
- Table Mounting: If you prefer flexibility, a table mount may be more suitable. This allows you to move the projector around as needed for different activities. Ensure that the projector is stable on the table and properly aligned to the screen.
Choosing the best mounting option will depend on your usage needs and available space. A well-positioned projector will enhance viewing comfort, allowing everyone in the room to enjoy a full cinematic experience.
Alignment and Angles
Once the projector is mounted, ensure that it is level and properly aligned with the wall or screen. The image should be perfectly rectangular, without any distortion or keystone effects. Many projectors include lens shift and zoom functions that allow for adjustments without physically moving the unit.
Using the projector’s built-in test patterns or alignment tools can facilitate this process. Also make sure that the lens is free from obstructions or clutter that may obstruct the projected image. This attention to detail improves the overall clarity and performance of the projector.
Connecting to Devices
Multiple Inputs
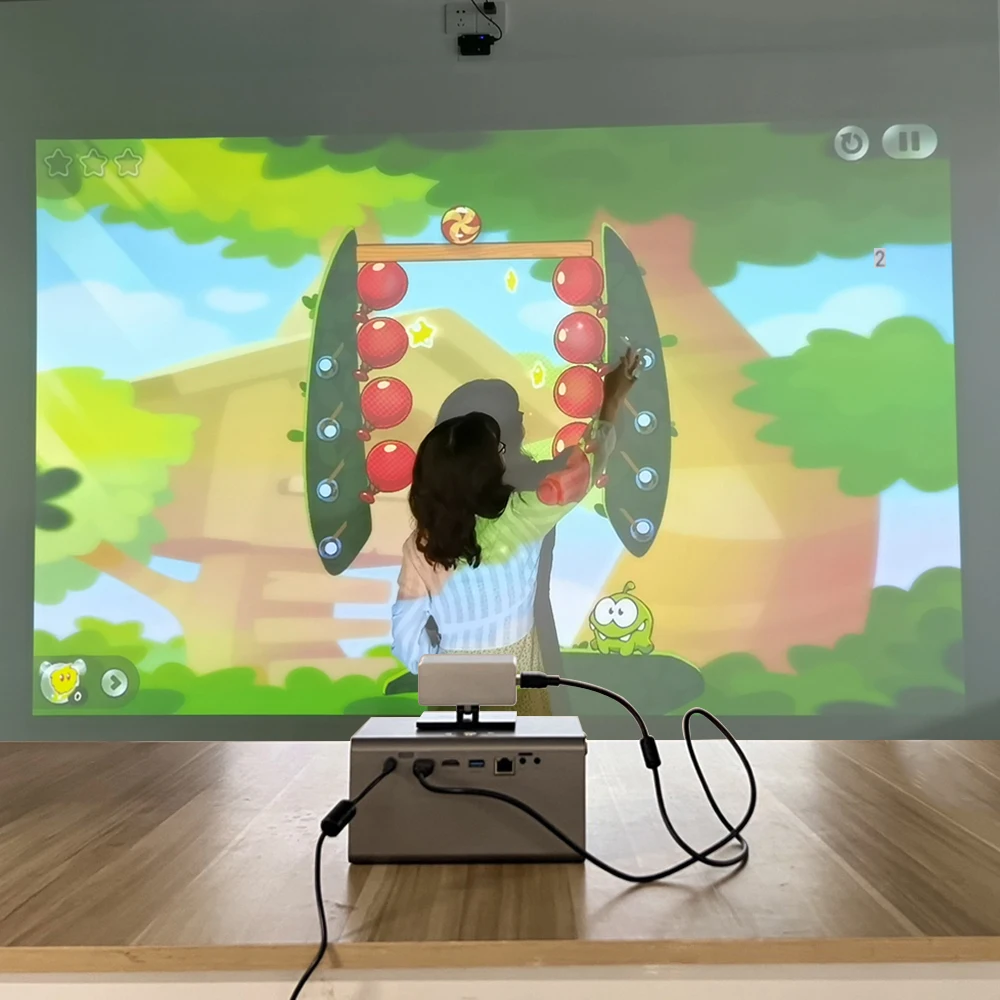
Modern projectors typically feature multiple connection options, allowing you to connect various devices easily. Common inputs include HDMI, USB, and wireless connectivity options. Evaluate the devices you plan to use, such as laptops, gaming consoles, or streaming devices, to determine the best connection method.
Utilizing HDMI is ideal for high-definition content, as it delivers both audio and video signals through a single cable. Check that your cables and connectors are high quality to avoid any disruption in picture or sound. If employing wireless connections, ensure that your home Wi-Fi network is stable and strong, as this can impact streaming performance.
Audio Considerations
While projectors typically have built-in speakers, it’s not uncommon for the audio quality to be lacking. To enhance your viewing experience, consider using external speakers or connecting the projector to a surround sound system.
Setting up speakers can involve using Bluetooth, RCA, or optical connections. Ensure that the audio output from the projector is correctly configured, and test the sound during initial setup. A good audio system can transform a simple viewing experience into an immersive event.
Calibrating the Picture Settings
Adjusting Image Settings
After connecting your devices, the next step is to calibrate the picture settings for optimal viewing. Most projectors come with preset image modes, such as cinema, standard, or vivid, that cater to different viewing environments.
Start by selecting the mode that best suits your primary use, whether watching movies, playing games, or giving presentations. Adjust parameters such as brightness, contrast, color saturation, and sharpness to create a balanced image. Make minor adjustments gradually, paying attention to how they affect the overall picture.
Test Patterns and Calibration Tools
To achieve precise calibrations, consider using test patterns available through the projector or calibration discs. These tools help identify weaknesses in your setup and allow for systematic adjustments.
For example, a grayscale test pattern can help ensure your brightness and contrast settings are balanced. Similarly, color test patterns can improve color accuracy, ensuring that visuals appear vibrant and true to life. Investing time in proper calibration can significantly enhance your viewing experience.
Maintenance for Longevity
Regular Cleaning
Keeping your projector clean is essential for maintaining its performance and longevity. Dust and debris can accumulate on the lens and intake vents, hindering picture quality and airflow. Regularly using a soft cloth to gently wipe the lens will prevent cloudiness that can obstruct clarity.
Also, check the projector’s filter for dust buildup. Many projectors have replaceable filters that must be cleaned or replaced periodically. Refer to the manufacturer’s instructions for proper maintenance intervals and methods to ensure your device operates efficiently.
Software Updates
In addition to routine cleaning, it’s crucial to keep the projector’s firmware up to date. Manufacturers routinely release software updates that can enhance performance, improve functionality, and fix bugs.
Check the manufacturer’s website or your projector’s menu options for updates. Keeping your device current can ensure you enjoy all the latest features and maintain optimal performance throughout its lifespan.
Elevate Your Viewing Experience
Setting up a wall projector offers a fantastic opportunity to transform your viewing experience, whether for movies, gaming, or presentations. By understanding the various types of projectors, selecting the right location, and properly calibrating the picture settings, you can create an optimal environment for all types of viewing experiences.
Investing time in maintenance and upkeep can ensure that your projector serves you well for many years, providing cinematic experiences in the comfort of your own home. As technology advances, wall projectors continue to improve, making them accessible and versatile tools for users of all kinds.
So, gather your friends and family, plan your viewing events, and immerse yourself in the memorable experiences that a well-setup wall projector can provide. With these tips, you’ll be well on your way to enjoying outstanding visuals and crystal-clear sound, crafting a space that will be the heart of entertainment in your home. Elevate your viewing experiences, and most importantly, enjoy every moment of your cinematic adventures!
